

Most paint transfer comes off with gentle washing, clay, polishing, and careful testing before stronger products.
Learning how to remove paint transfer from car bumper starts with one key idea: remove the foreign paint without harming the bumper’s original finish. The safest method depends on whether the mark sits on clear coat, textured plastic, or damaged paint. This guide explains each step, the tools to use, common mistakes, and when professional repair makes more sense.
What Paint Transfer on a Car Bumper Really Is
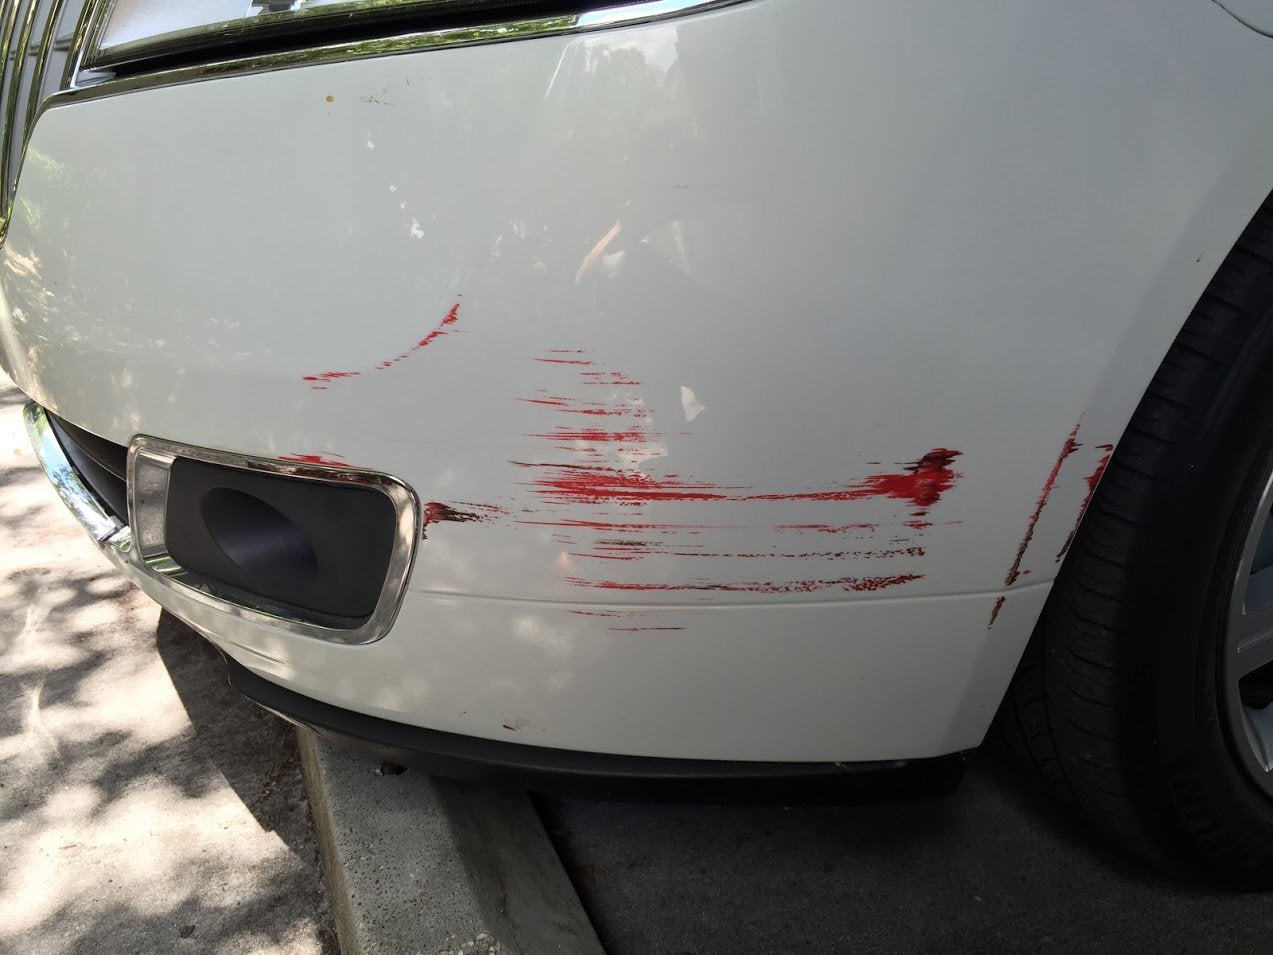
Paint transfer happens when another painted surface rubs against your bumper. The contact can occur in a parking lot, during a low-speed bump, or when a shopping cart brushes the car.
The bumper may look badly scratched, but the damage is often less serious than it appears. In many cases, the other car’s paint sits on top of your clear coat. It may not have cut through your bumper’s color layer.
Knowing how to remove paint transfer from car bumper surfaces starts with identifying the mark:
• Surface transfer: A colored smear sits on top of your paint. This is the easiest type to remove.
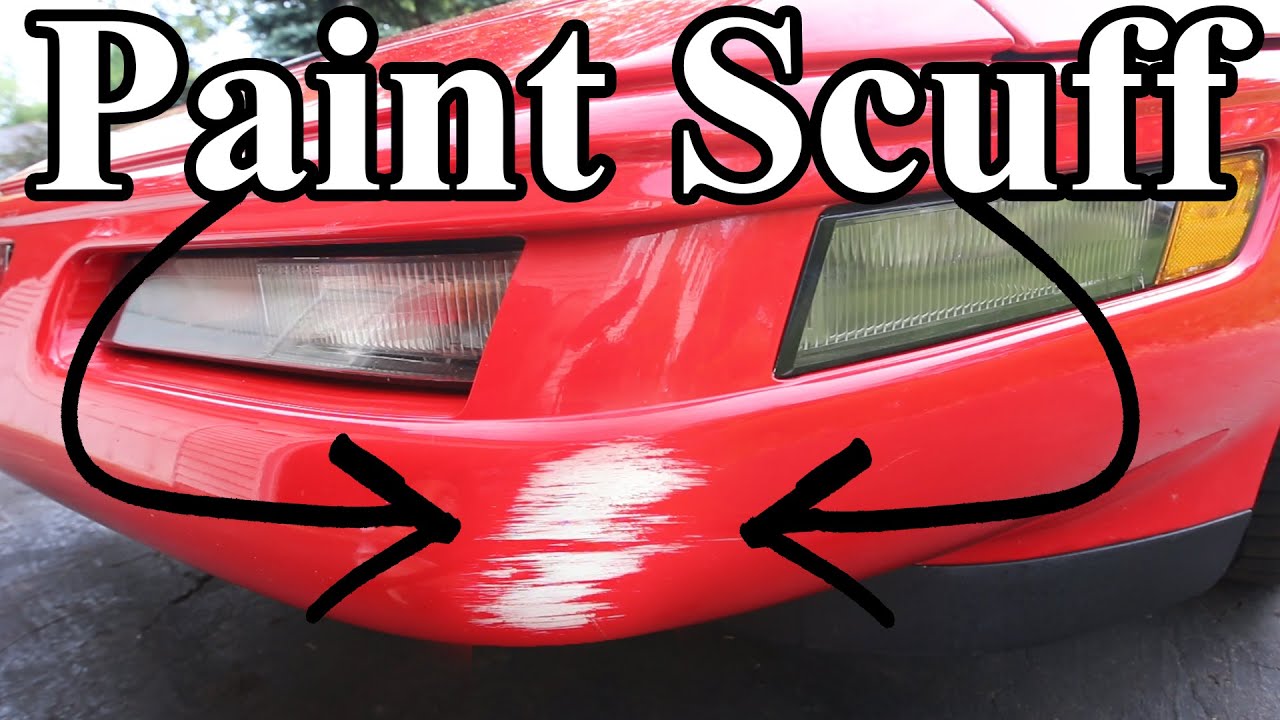
• Clear coat scuff: The bumper has dull, gray, or hazy marks but still has color beneath them.
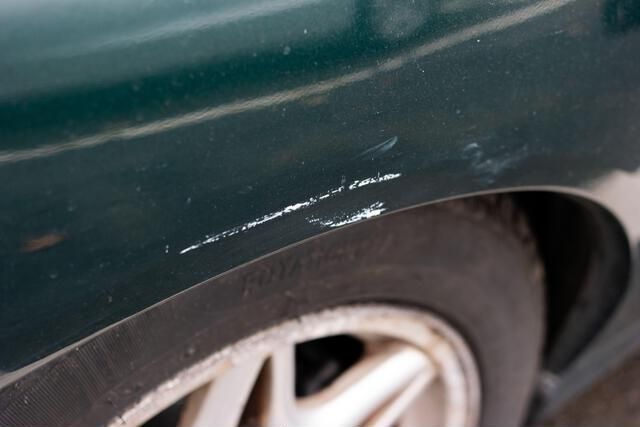
• Deep scratch: You can feel a groove with your fingernail, or the bumper’s primer or black plastic shows through.
• Textured plastic damage: The mark sits on rough, grainy plastic that can trap paint and resist polishing.
A simple fingernail test helps. After washing and drying the area, gently run your fingernail across the mark. If your nail catches, the paint may have been scratched rather than transferred.

What You Need Before You Start
Gather safe, basic supplies before touching the bumper. Clean tools reduce the chance of adding new scratches.
• Car wash soap
• Two clean buckets
• Microfiber wash mitt
• Several clean microfiber towels
• Automotive clay bar or clay mitt
• Clay lubricant or a water-based detailing spray
• Automotive adhesive or tar remover
• Mild automotive polish
• Foam applicator pad
• Soft detailing brush
• Nitrile gloves
• Painter’s tape
• Car wax or paint sealant
Avoid household cleaners, rough sponges, paper towels, powdered scrubbers, and kitchen degreasers. These products may remove the transfer, but they can also dull the clear coat or stain plastic trim.
Use products made for automotive paint. Check the label first, and always test the product in a hidden area. This small test can prevent a large repair bill.
How to Remove Paint Transfer From Car Bumper Step by Step
1. Inspect the damage in good light
Park the car in shade or soft daylight. Strong sunlight can hide fine scratches and make the surface too hot for cleaning products.
Look for broken plastic, loose bumper edges, exposed primer, or paint that has been pushed into a crack. If the bumper is cracked or the sensor area is damaged, cleaning alone will not fix the problem.
Take a few photos before you begin. This helps you compare the surface after each step and provides a record if another driver caused the damage.
2. Wash the bumper first
Mix automotive soap with water according to the product label. Wash the bumper with a clean microfiber mitt, then rinse it well.
Use the two-bucket method when possible. One bucket holds soapy water, and the other holds rinse water. This keeps dirt from returning to the mitt and scratching the finish.
Dry the bumper with a soft microfiber towel. Do not rub hard over the transfer. At this stage, your goal is to remove loose dirt, not the paint mark.
3. Try a damp microfiber towel
For fresh transfer, plain water and light pressure may work. Fold a clean microfiber towel into a thick pad and gently wipe in one direction.
Do not scrub in circles. Circular rubbing can spread the foreign paint and create visible swirls in the clear coat.
If the mark fades, repeat the wash and towel method once or twice. Stop if the towel begins to drag or the surface becomes hazy.
4. Use an automotive-safe remover
If washing does not work, apply a small amount of automotive adhesive, tar, or bug remover to a microfiber towel. Do not pour the product directly onto the bumper.
Work on a small section. Let the product sit only as long as the label allows, then wipe gently. Add more product when needed instead of applying more pressure.
This step is often the answer to how to remove paint transfer from car bumper when the transferred paint contains rubber, road film, or adhesive residue. Many low-speed impacts leave more than paint behind.
Never use gasoline, acetone, lacquer thinner, brake cleaner, or paint stripper. These strong solvents can soften plastic, damage clear coat, or leave a dull patch.
5. Remove remaining marks with a clay bar
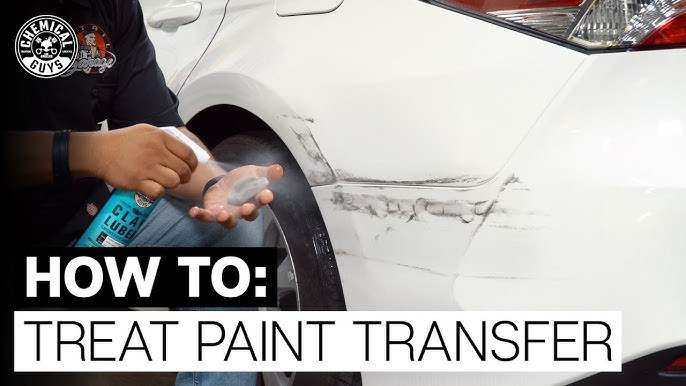
A clay bar can lift bonded paint particles that washing and solvent cannot remove. Spray clay lubricant over a small area first.
Flatten the clay into a thin pad, then glide it lightly across the wet surface. You should feel the surface become smoother under the clay.
Fold the clay often to expose a clean section. If you drop it on the ground, throw it away. Dirt trapped in clay can scratch the bumper.
Clay does not repair deep scratches. It only removes bonded material from the surface. Use it gently and avoid dry rubbing.
6. Polish the affected area
If a faint stain or scuff remains, use a mild automotive polish. Apply a small amount to a soft foam pad and work a section about one square foot in size.
Use light to moderate pressure. Make several slow passes, then wipe the area with a clean microfiber towel and inspect it.
A polish removes a very thin amount of clear coat. That is why aggressive rubbing is risky, especially on plastic bumpers with thin factory finishes.
For hand polishing, patience matters more than force. A few gentle passes are safer than one hard pass.
7. Treat textured or unpainted plastic carefully
Some bumpers have textured black plastic sections. These surfaces are not the same as painted clear coat.
Do not use a cutting compound or aggressive polish on textured plastic. It can collect in the grain and leave white residue.
Instead, use an automotive-safe cleaner and a soft detailing brush. Work slowly along the texture, then wipe with a damp microfiber towel.
If the transferred paint has soaked into the plastic, a professional may need to use a plastic-safe refinishing process. Home solvents can cause permanent discoloration.
8. Protect the cleaned area
After the mark is gone, wipe away residue and apply a wax or paint sealant to painted areas. Protection helps water and road film release more easily later.
Keep wax and sealant away from unpainted textured plastic unless the product specifically says it is safe for that material.
If the bumper still looks dull after cleaning, the original clear coat may be scuffed. A professional polish may improve it, but deep damage requires refinishing.
How to Tell Whether the Paint Transfer Is Removable
The most useful question is not only how to remove paint transfer from car bumper, but whether the mark is actually transfer.
Try these checks after washing:
• Color test: If the bumper’s original color remains under the mark, the damage may be on the surface.
• Fingernail test: If your nail does not catch, the mark may respond well to clay or polish.
• Water test: Wet the area. If the mark nearly disappears while wet, clear coat haze may be causing the dull look.
• Depth test: If you see white primer, bare black plastic, or a deep groove, cleaning will not restore the original finish.
• Edge test: Paint transfer often has a smudged edge. A true scratch usually has a sharp line or channel.
Paint transfer removal has limits. A cleaner can remove foreign paint, but it cannot replace missing paint or rebuild damaged plastic.

Common Mistakes That Cause More Damage
Many bumper repairs become costly because the first attempt is too aggressive. The safest approach is to begin with the least powerful method.
Avoid these common mistakes:
• Scrubbing with a magic eraser: Melamine foam acts like a very fine abrasive. It can dull clear coat and leave uneven patches.
• Using a razor blade: A blade can cut paint, plastic, and clear coat in seconds.
• Applying heat without care: A heat gun can warp a plastic bumper or soften nearby trim. Professionals use controlled heat, but it is risky for home repairs.
• Using too much solvent: Strong or repeated solvent use may soften the finish and create a larger stain.
• Polishing a dirty surface: Dirt beneath a pad can create fresh scratches.
• Using one towel for everything: Separate towels for washing, solvent removal, and polishing.
• Skipping the test spot: A product that works on metal may react differently on plastic.
• Working in direct sun: Hot panels dry products too quickly and increase the chance of streaks.
One detailer’s lesson applies here: when a mark resists gentle cleaning, pushing harder rarely improves the result. It usually turns a removable transfer into a refinishing job.
When to Stop and Call a Professional
Knowing how to remove paint transfer from car bumper also means knowing when not to continue. Stop home treatment if you notice any of these signs:
• The bumper is cracked or separated from its mounting points.
• Parking sensors, cameras, lights, or radar parts are damaged.
• The scratch exposes primer or bare plastic.
• The bumper has a large dent or sharp crease.
• The finish becomes cloudy after polishing.
• The transferred paint covers a large area.
• The plastic is melted, warped, or discolored.
A body shop can measure paint depth, level the damaged area, apply plastic adhesion products, and blend new paint into the surrounding panel. Modern bumpers may also contain sensors that require inspection or calibration after an impact.
If the damage came from another vehicle, keep photos, the date, location, and any available insurance details. Cleaning the bumper before documenting it can make it harder to show what happened.

How Long Does Paint Transfer Removal Take?
A small, fresh mark may take 15 to 30 minutes to clean. More stubborn transfer can take one to two hours when washing, claying, polishing, and sealing are all needed.
The process takes longer when:
• The transfer has baked in the sun.
• Road grit is mixed with the paint.
• The bumper has a textured finish.
• The area is large.
• The original clear coat is already weak.
Do not judge success by speed. A careful repair that takes 30 minutes is better than a rushed repair that needs professional paint correction.

How to Prevent Future Paint Transfer
You cannot prevent every parking lot accident, but you can reduce the effect of minor contact.
• Apply wax or paint sealant two to four times each year.
• Wash road film from the bumper before it bonds to the surface.
• Park away from tight spaces when practical.
• Avoid parking beside vehicles that sit at unusual angles or show fresh body damage.
• Keep a clean microfiber towel and automotive detail spray in the trunk.
• Do not use a dirty towel to wipe dust from the bumper.
A protected surface will not stop a collision, but it can make light contamination easier to remove. Think of protection as a raincoat, not armor.

Products That Work Best for Different Marks
The right product depends on the type of contamination.
• Fresh, light transfer: Car soap, water, and a microfiber towel.
• Sticky residue: Automotive adhesive or tar remover.
• Fine bonded particles: Clay bar with proper lubricant.
• Light haze or scuffing: Mild automotive polish.
• Deep scratches: Professional sanding, paint repair, or bumper refinishing.
• Textured black plastic: Plastic-safe cleaner and a soft brush.
Do not assume a stronger product is a better product. Strong chemicals and abrasive compounds remove material faster, but they also leave less room for mistakes.
Frequently Asked Questions About How to Remove Paint Transfer From Car Bumper
Can I remove paint transfer from a bumper at home?
Yes, light surface transfer can often be removed at home with car soap, microfiber towels, automotive-safe remover, clay, and mild polish. Deep scratches, cracked plastic, and exposed primer need professional repair.
Will rubbing alcohol remove paint transfer from a car bumper?
Diluted isopropyl alcohol may help with some residue, but it can dry or affect certain finishes. Test it in a hidden spot first, use a small amount, and avoid strong rubbing.
Can toothpaste remove paint transfer from a bumper?
Toothpaste is not designed for automotive paint and may create uneven dull spots. A mild automotive polish is safer because it is formulated for clear coat and can be used with better control.
Does WD-40 remove paint transfer from a bumper?
A water-displacing spray may loosen some adhesive or rubber residue, but it is not a complete paint correction product. Clean the area afterward with automotive soap and avoid relying on it for deep scratches.
How do I remove paint transfer from a textured plastic bumper?
Use an automotive-safe plastic cleaner and a soft detailing brush. Avoid clay, strong solvents, and abrasive polish unless the product is specifically approved for textured plastic.
Can a car wash remove paint transfer?
A normal car wash may remove loose dirt and fresh transfer, but it usually will not remove bonded paint or clear coat scuffs. More stubborn marks need careful spot treatment.
How do I know if paint transfer has damaged my clear coat?
If the mark remains after safe cleaning and feels rough or catches your fingernail, the clear coat may be scratched. Haze, exposed primer, or missing color also suggests damage beyond surface transfer.
Conclusion
The safest way to remove paint transfer from car bumper is to work from gentle to stronger methods. Wash first, test an automotive-safe remover, use clay for bonded residue, and polish lightly only when needed. Always test products in a hidden area, protect textured plastic, and stop when the damage reaches the paint or bumper material.
A small mark does not always require a body shop, but patience matters. Take clear photos, use clean tools, and treat the bumper like a delicate painted surface rather than a household object. Try these steps on a small area first, then share your result or explore more car care guides for the next repair.