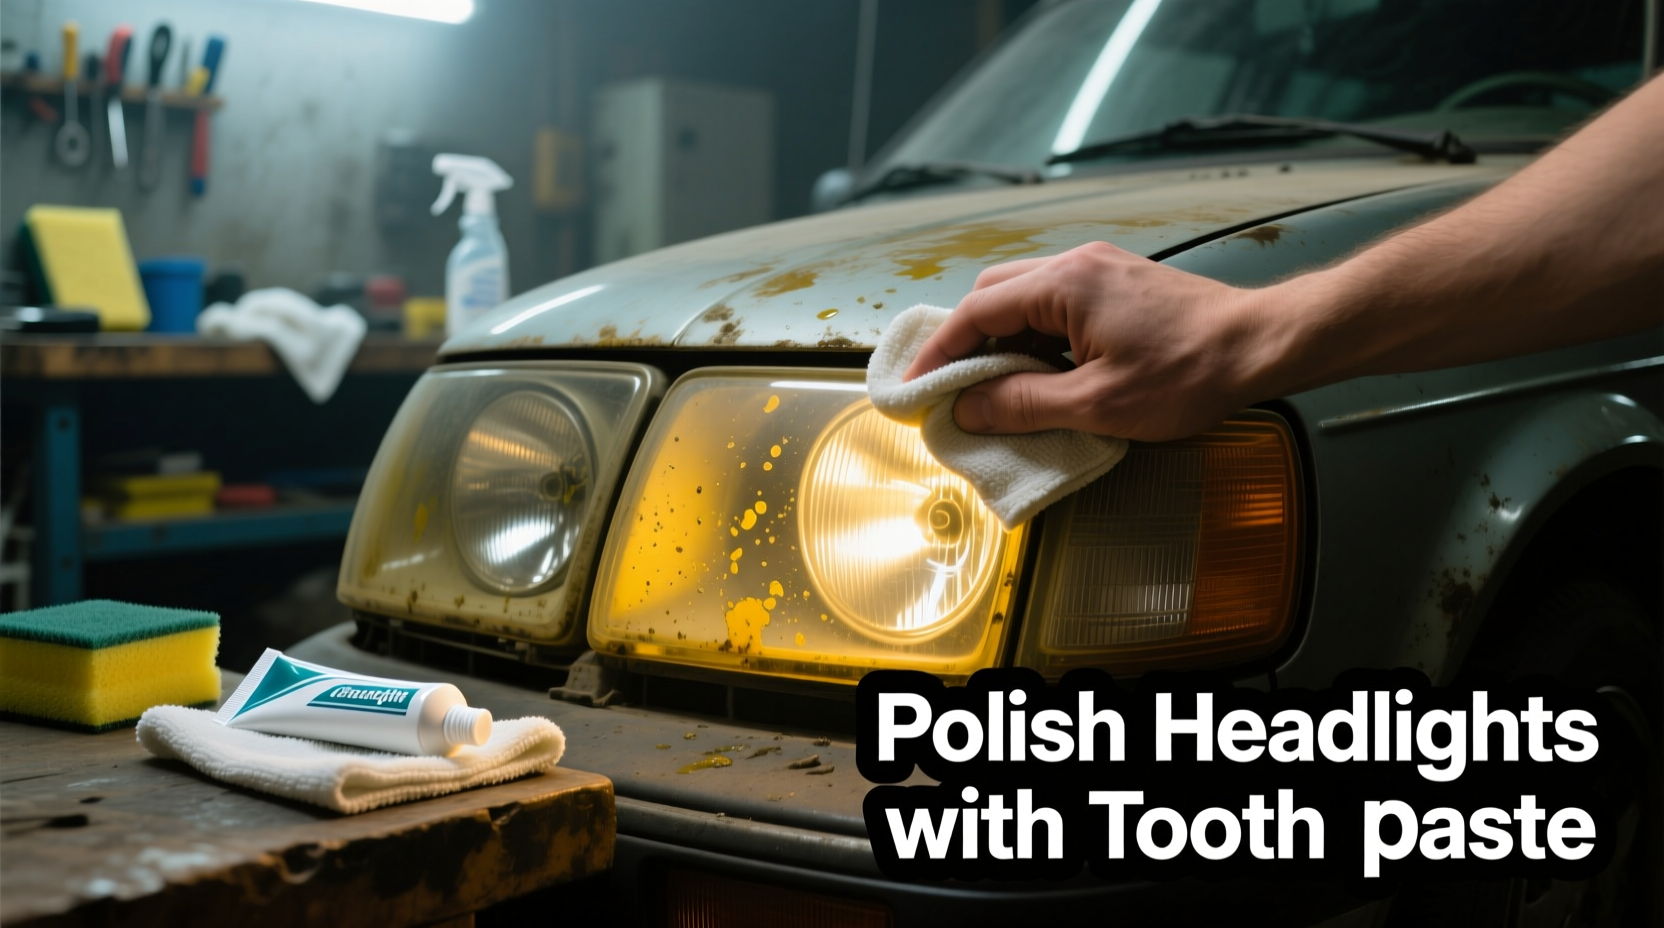
How To Polish Car Headlights With Toothpaste: Easy DIY
Use non-gel toothpaste, a soft cloth, gentle scrubbing, rinse, and seal for clearer headlights.
I’m an auto care writer and DIYer with years of hands-on experience. I’ll explain how to polish car headlights with toothpaste step by step, why it works, and when it is only a short-term fix. Read on for practical tips, safe methods, and simple maintenance to keep your lights bright and safe.

Why headlights get cloudy and why it matters
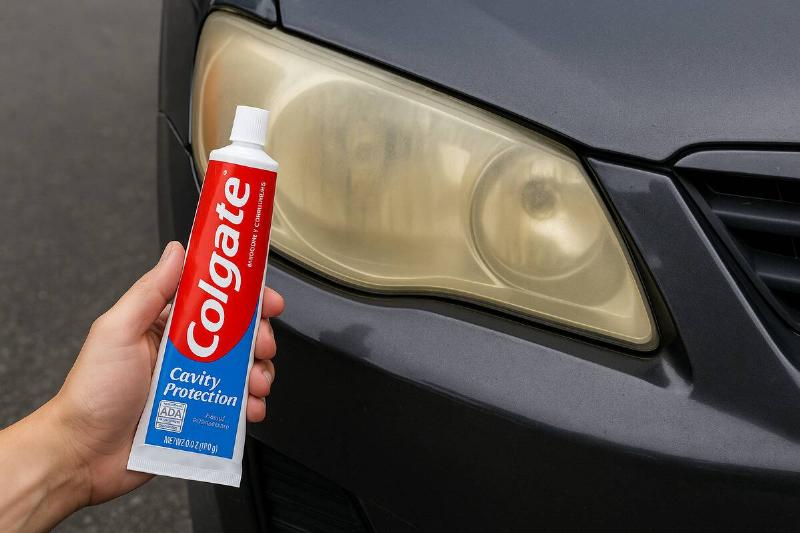
Cloudy headlights happen when UV rays and road grime eat into the plastic lens. Over time, the clear outer layer oxidizes. This reduces light output and makes night driving less safe.
Fixing the haze improves visibility and keeps your car looking cared for. Knowing how to polish car headlights with toothpaste helps you do a low-cost, quick refresh before trying stronger methods. Use the right steps to avoid making the haze worse.

Does toothpaste really work on headlights?
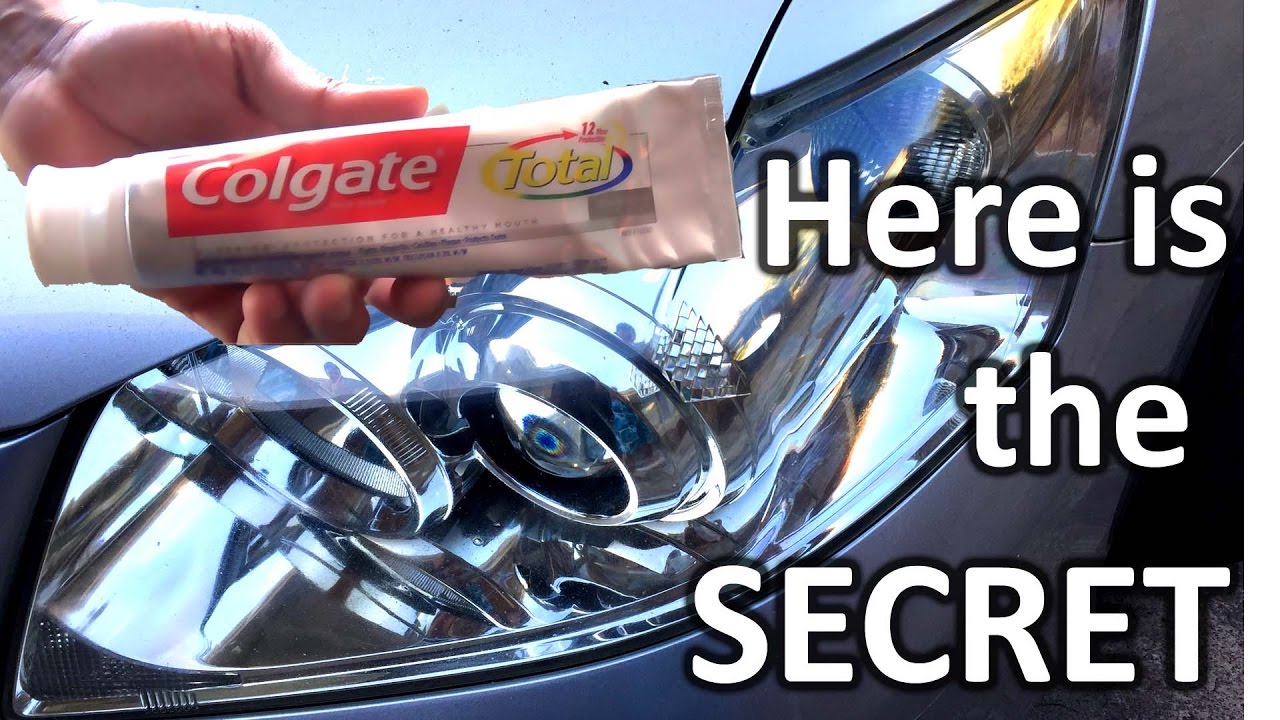
Toothpaste works because it contains mild abrasive particles. These abrasives remove the thin layer of oxidized plastic. Non-gel, whitening, or paste varieties with silica do best.
Toothpaste is not a permanent fix. It restores clarity by smoothing the surface, but it does not add UV protection. When you learn how to polish car headlights with toothpaste, expect results that can last months, not years.
Materials you will need
- Non-gel toothpaste, plain white paste, not mint gels
- A few clean microfiber cloths or soft rags
- Masking tape to protect paint and trim
- Spray bottle with water or a wet sponge
- Fine-grit sandpaper (optional for heavy haze): 800, 1200, 2000 grit
- Automotive clear coat or UV protectant (optional, recommended)
These items let you safely try how to polish car headlights with toothpaste. If you decide to sand first, the toothpaste step polishes after sanding.
How to polish car headlights with toothpaste — Step-by-step
This step-by-step shows how to polish car headlights with toothpaste safely and effectively.
-
Prepare and protect
- Wash the headlight and surrounding area with soap and water.
- Dry the area.
- Use masking tape to cover paint, trim, and rubber seals.
-
Apply toothpaste
- Squeeze a generous amount of non-gel toothpaste onto a damp cloth.
- Spread it in a thin layer over the lens surface.
-
Scrub gently in circles
- Rub with moderate pressure in circular motions for 2 to 5 minutes per section.
- Re-wet the cloth or lens if it dries.
- Focus on the most hazed zones.
-
Rinse and inspect
- Rinse with clean water and wipe dry.
- Check clarity in daylight. Repeat the paste and scrub if needed.
-
Optional sanding for heavy haze
- Wet-sand with 800, then 1200, then 2000 grit paper if the lens has deep yellowing.
- Keep the surface wet and sand lightly and evenly.
- Finish with toothpaste polishing to remove fine scratches.
-
Seal and protect
- Apply a plastic polish or automotive UV protectant to slow re-oxidation.
- If you have auto clear coat, follow product instructions for spray or wipe-on application.
- Let the sealant cure before driving.
When you follow these steps on how to polish car headlights with toothpaste, you can restore light output and improve appearance quickly. Always test a small area first.

Practical tips, mistakes to avoid, and personal notes
- Do test first. I once used gel toothpaste and got little improvement. Plain paste works best.
- Avoid harsh scrubbing on cracked lenses. Scrubbing can worsen cracks.
- Don’t skip the sealant. After one DIY job, I watched clarity fade in two months because I didn’t seal the lens.
- Use gloves to keep skin oils off the lens. Oils can affect results.
- Keep pressure even. Too much force causes swirl marks.
Learning how to polish car headlights with toothpaste takes a little practice. Be patient, use the right paste, and protect the paint.

Limitations and when to choose a professional or a kit
Toothpaste is great for light haze and quick fixes. It is not ideal for:
- Deep pitting or heavy yellowing
- Cracked or structurally damaged lenses
- Long-term UV protection
If headlights remain cloudy after toothpaste or sanding, get a professional restoration or replace the lens. A proper restoration adds longer-lasting UV coatings and guarantees performance.
Maintenance and prevention after polishing
- Wash headlights regularly with car soap and water.
- Park in shade when possible to reduce UV exposure.
- Reapply a UV protectant every 3 to 6 months.
- Wax the headlights lightly after polish for short-term shine.
Following these steps keeps your headlights clearer and reduces how often you need to redo how to polish car headlights with toothpaste.

Frequently Asked Questions of How to polish car headlights with toothpaste
Is toothpaste safe for all headlight plastics?
Yes, plain non-gel toothpaste is generally safe for common polycarbonate headlight lenses. Avoid abrasive or colored gels that may stain or scratch.
How long will results last after polishing with toothpaste?
Results vary but typically last a few months. Reapplication and UV protection extend clarity.
Can I use a toothbrush or power drill with toothpaste?
A soft cloth or foam pad is best. A soft toothbrush works for spot cleaning. Be careful with power drills; they can overheat or scratch if used without proper pads.
Will toothpaste remove deep scratches?
No. Toothpaste can reduce fine scratches and haze. Deep scratches usually need sanding or professional repair.
How often should I reseal headlights after toothpaste polish?
Apply a UV protectant every 3 to 6 months for best results and longer-lasting clarity.
Conclusion
Polishing headlights with toothpaste is a low-cost, easy way to improve light output and car appearance. Use plain non-gel paste, follow the step-by-step method, and always seal the lens afterward for better longevity. Try this DIY fix as a first step, and move to sanding or professional restoration if haze persists. If this guide helped, leave a comment with your results or subscribe for more hands-on auto care tips.