

Maximum shine comes from clean paint, safe washing, surface decontamination, polishing, and proper protection.
Learning how to detail a car for maximum shine is less about using the most expensive products and more about following the right order. Clean tools, gentle wash methods, careful paint preparation, and controlled polishing make the biggest difference. This guide combines proven detailing methods with practical lessons from hands-on car care, so you can create a deep gloss without damaging the clear coat.

What Creates a Deep, Glossy Car Finish?
A shiny car has more than a clean surface. Maximum gloss comes from smooth, clear paint that reflects light evenly. Dirt, road film, water spots, scratches, and oxidation scatter light and make the finish look dull.
When learning how to detail a car for maximum shine, think of the paint as glass. Even a thin layer of grime can reduce clarity. Fine scratches act like tiny cracks in that glass and weaken the reflection.
A full detailing process usually includes:
• Washing away loose dirt and road film
• Removing bonded contamination from the paint
• Polishing light defects and haze
• Protecting the surface with wax, sealant, or ceramic coating
• Cleaning the glass, wheels, tires, trim, and interior
The goal is not simply to make the car look wet. The goal is to make the paint clean, smooth, clear, and protected.
Gather the Right Car Detailing Supplies
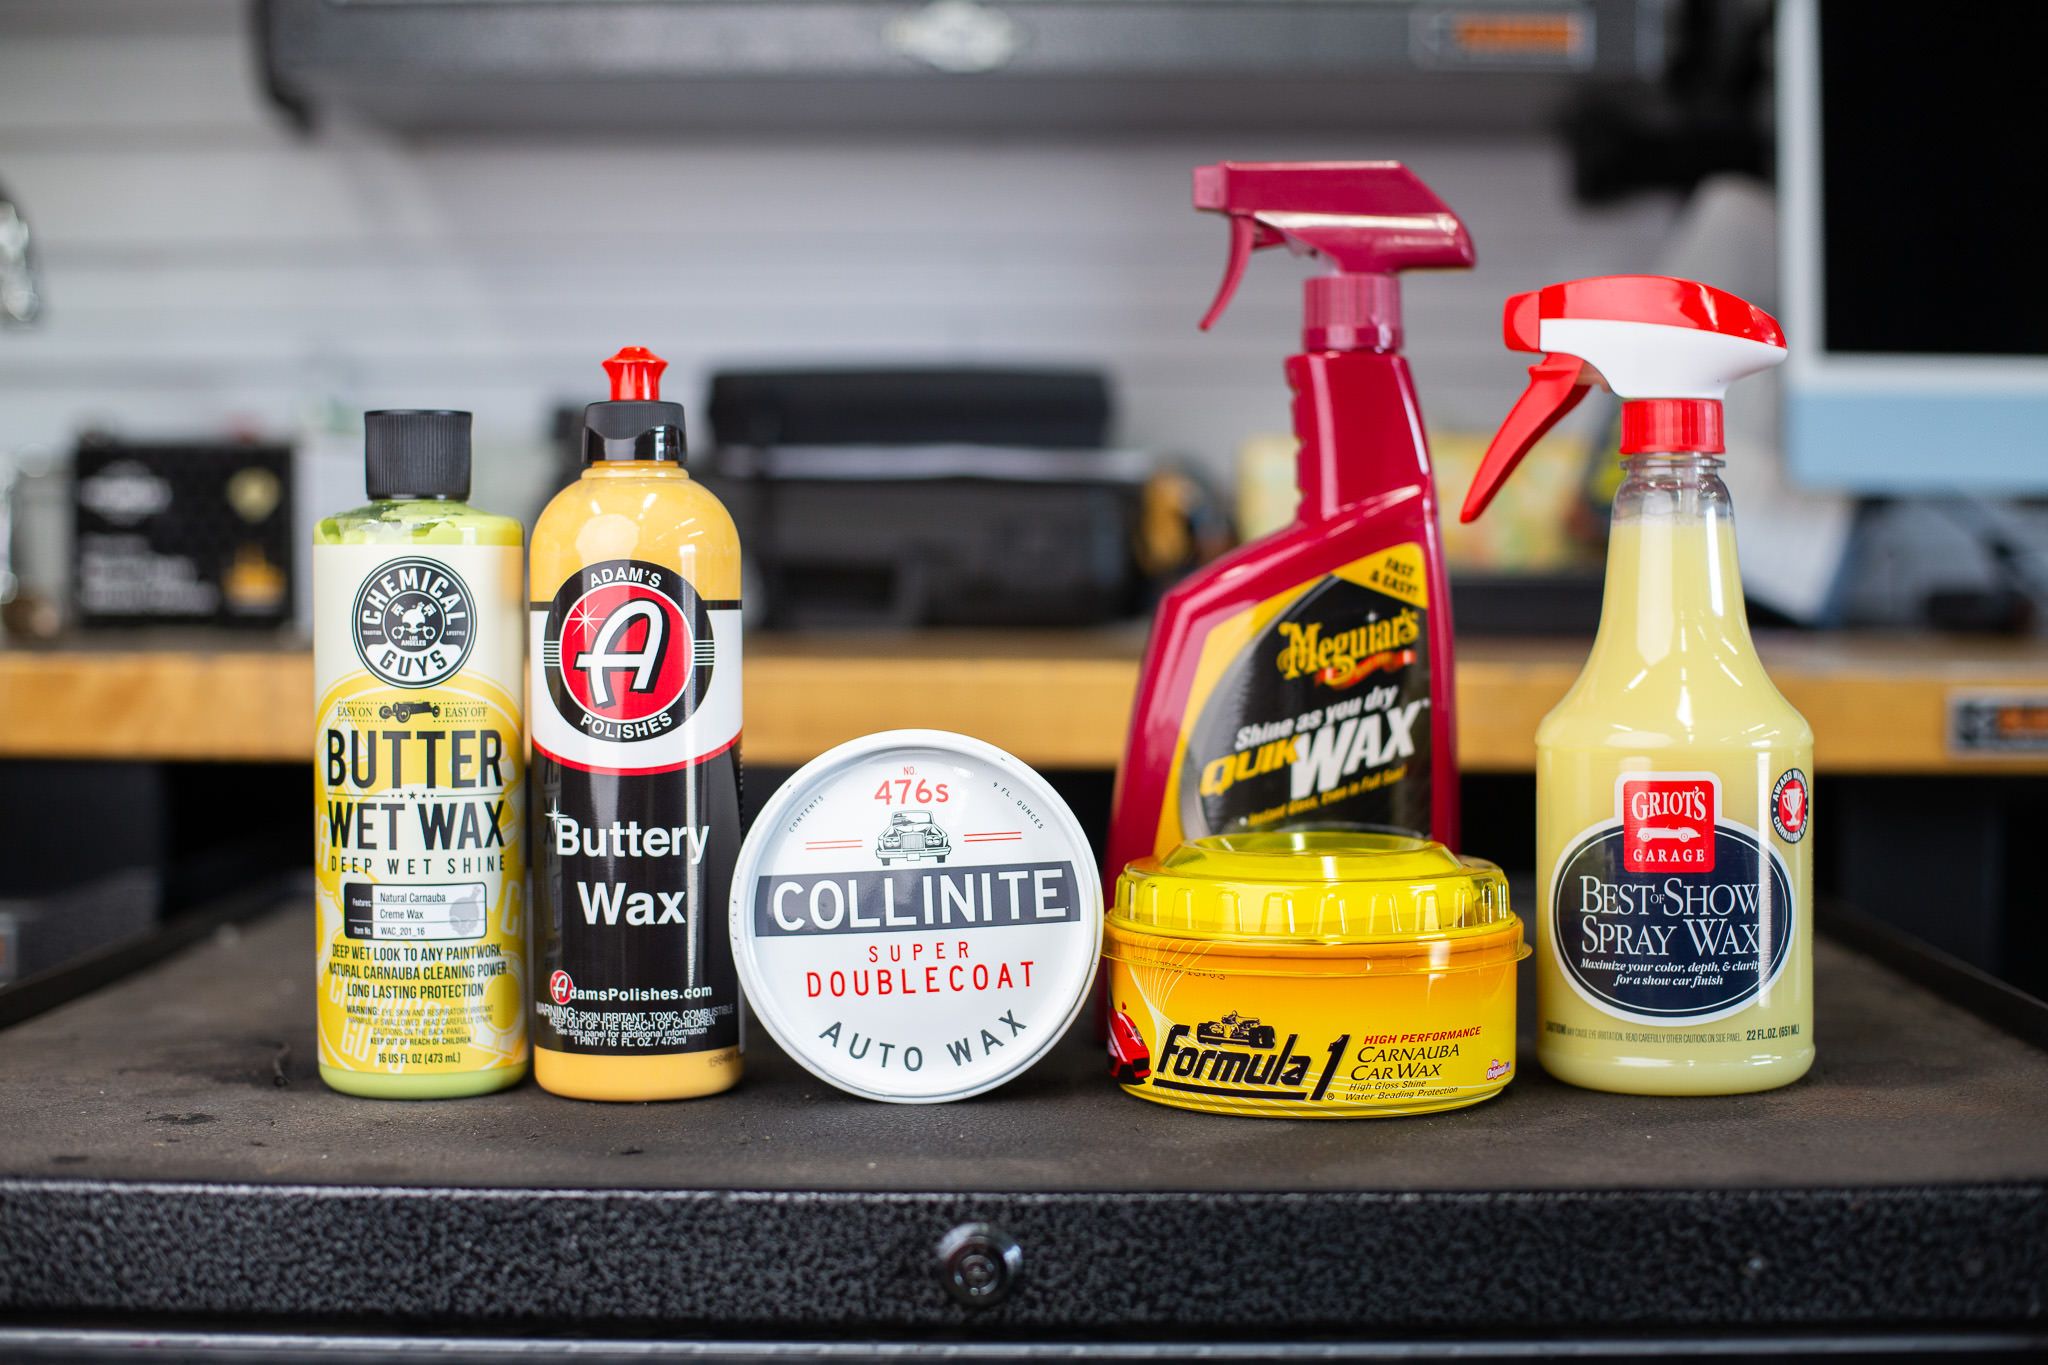
Good results start with the right tools. You do not need a professional shop, but you do need safe, clean equipment.
Basic supplies
• Two buckets with grit guards
• A pH-neutral car shampoo
• A microfiber wash mitt
• Several high-quality microfiber towels
• A soft wheel brush
• A tire brush
• A drying towel or air blower
• Automotive clay bar or synthetic clay mitt
• Iron remover
• Tar remover
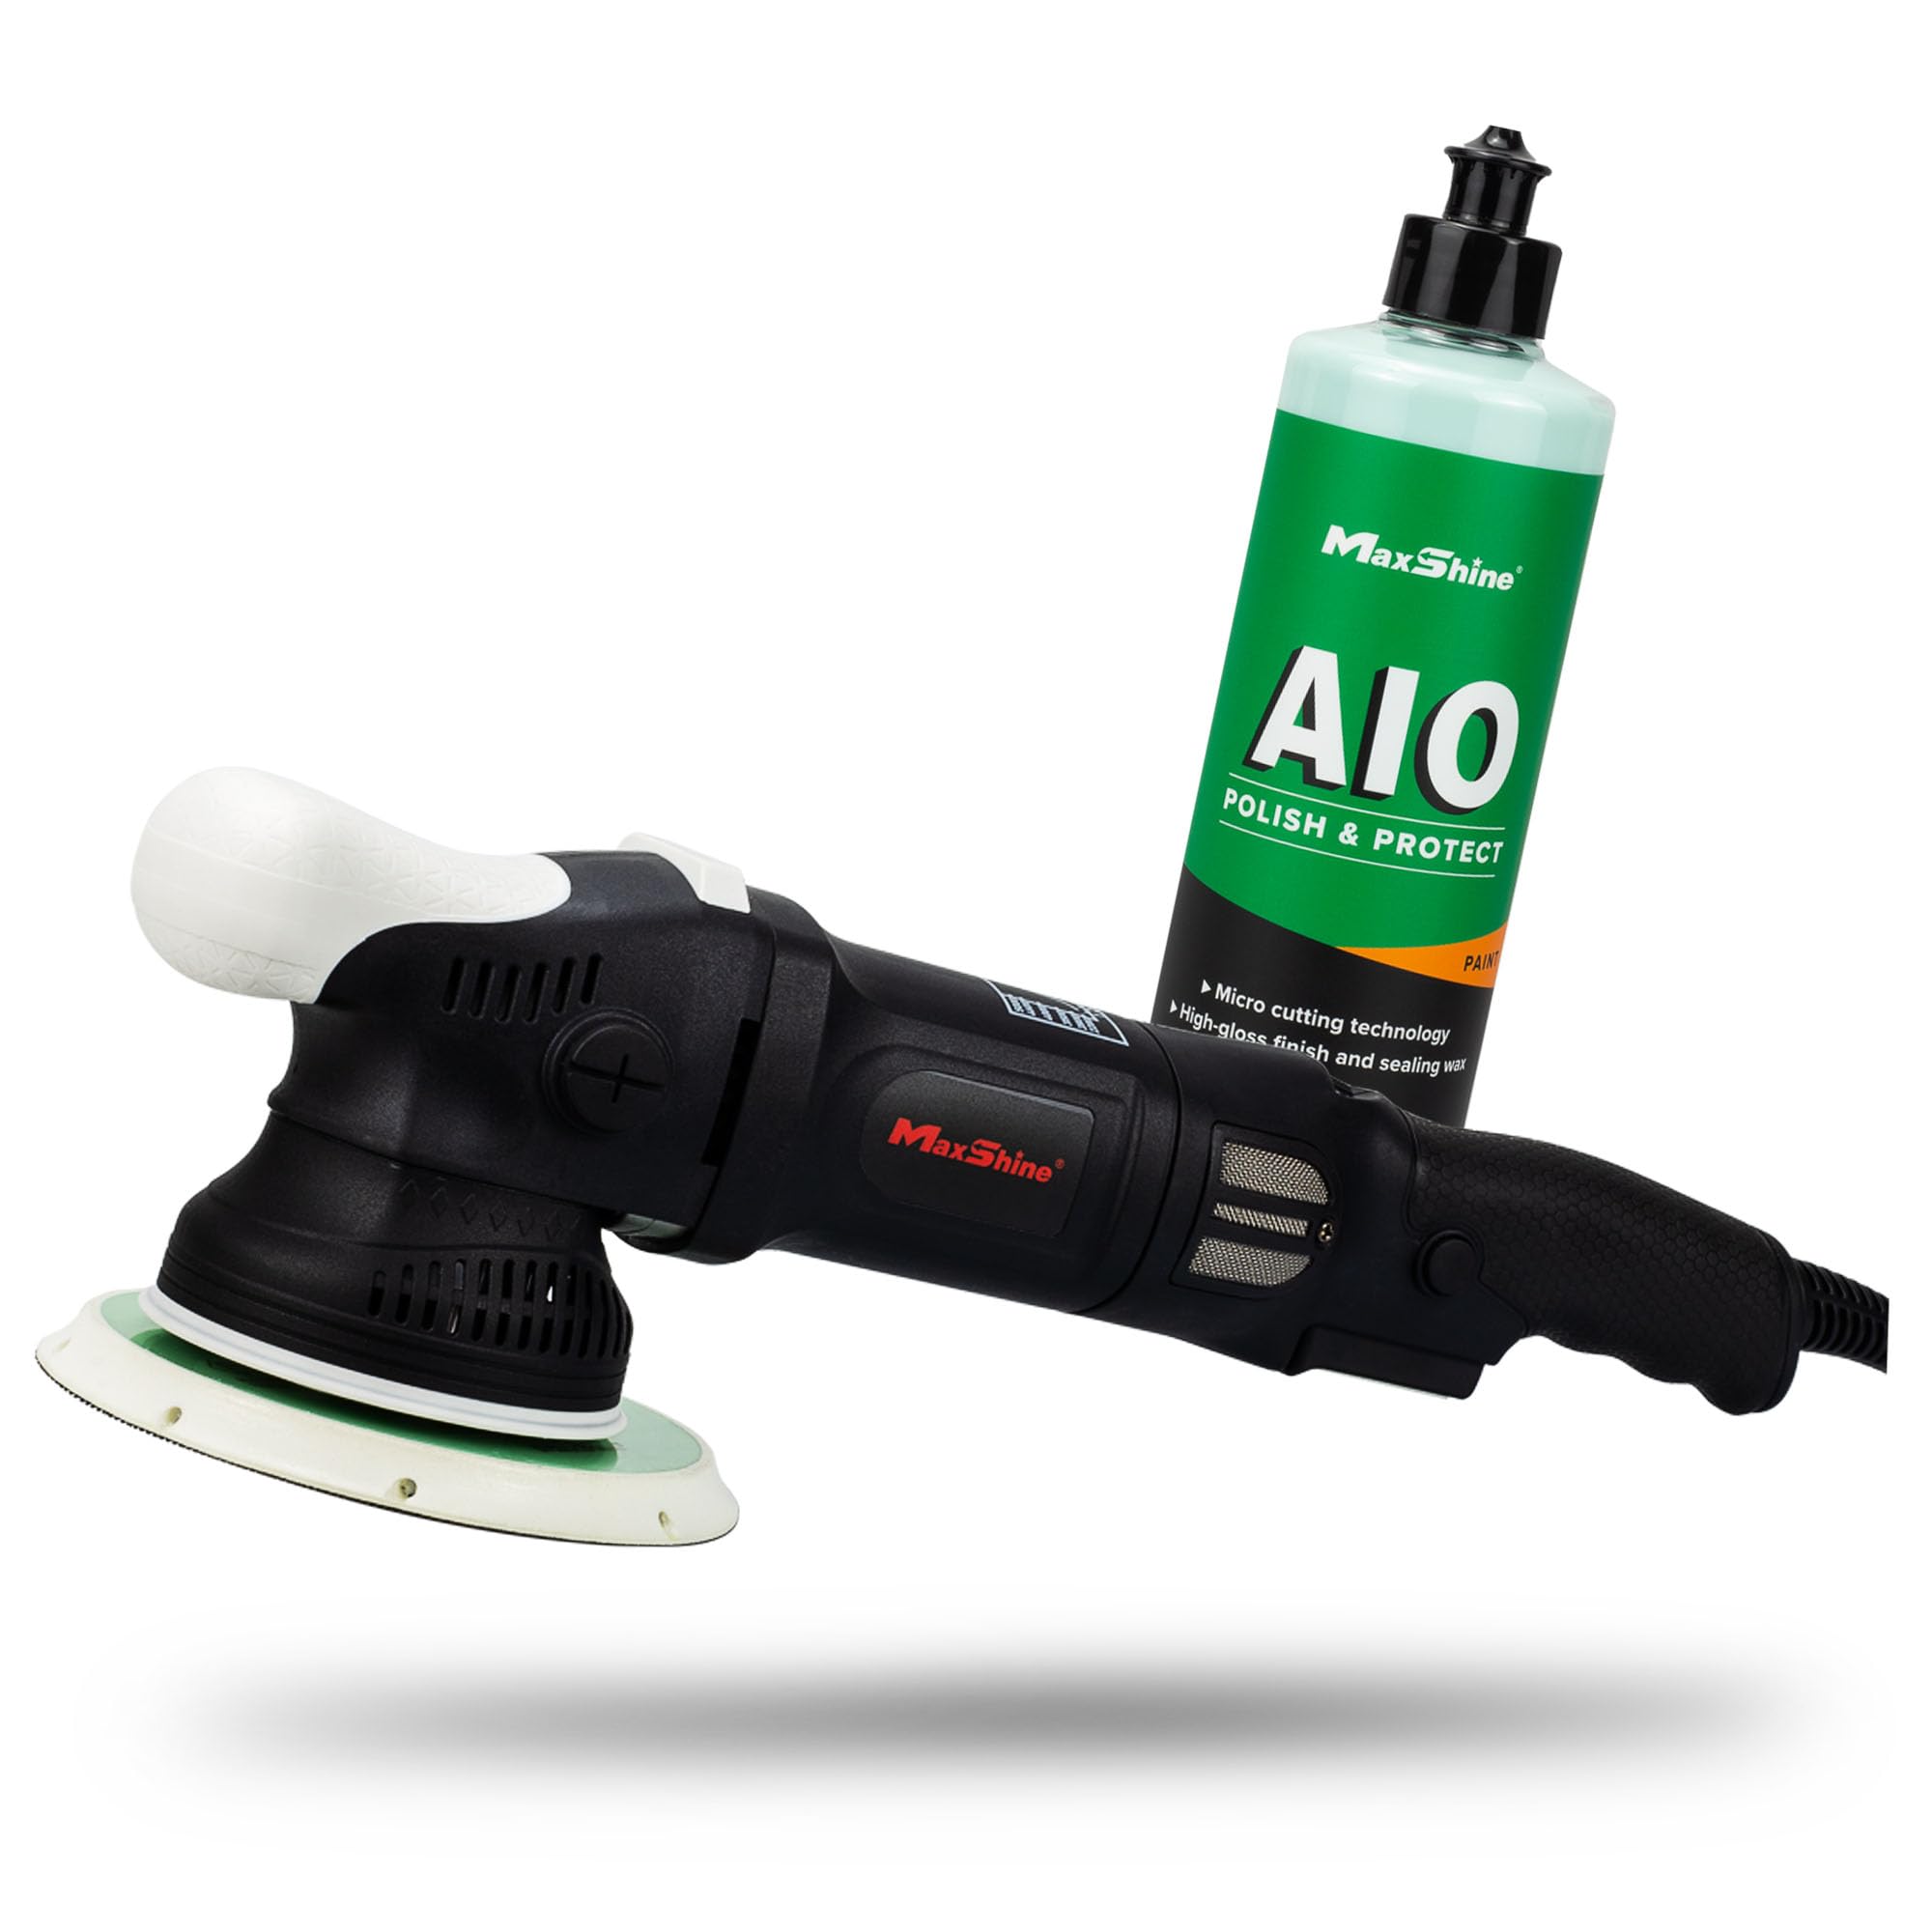
• Fine polish
• Foam or microfiber applicator pads
• Paint sealant, wax, or ceramic spray
• Glass cleaner made for automotive use
• Interior cleaner
• Nitrile gloves
Use separate tools for the wheels and paint. Brake dust can contain sharp metal particles. If those particles move from a wheel brush to the paint, they may create scratches.
Microfiber towels should also be separated by task. Keep different towels for paint, glass, wheels, interior surfaces, and dirty areas. Wash them without fabric softener because softener can reduce absorbency and leave a film.
Product safety matters
Always read the label and safety data for chemical products. Some wheel cleaners, degreasers, and tar removers can stain aluminum, damage delicate trim, or dry out rubber if used incorrectly.
A practical rule is simple: use the least aggressive product that can solve the problem. Stronger does not always mean better.

Choose the Best Place and Time
The location can affect the final shine as much as the products. Work in the shade, on cool paint, and away from strong wind. Direct sun can dry shampoo and chemicals before you rinse them.
Avoid detailing immediately after driving. Hot panels can cause water spots, streaks, and uneven product curing. Touch the hood with the back of your hand. If it feels hot, wait.
The ideal conditions include:
• Shade or an indoor work area
• Low wind
• Cool panels
• Good lighting
• Access to clean water
• Enough time to complete each step without rushing
Good lighting is essential when learning how to detail a car for maximum shine. Use a bright inspection light to find swirls, water spots, and missed residue. A car can look perfect in shade but reveal defects under direct light.
I learned this lesson after finishing a dark-colored vehicle late in the afternoon. It looked excellent until a work light exposed polish residue near the mirrors. Slow inspection would have caught it sooner.

Step 1: Clean the Wheels and Tires First
Wheels and tires are usually the dirtiest parts of a vehicle. Clean them before washing the body so brake dust and grime do not splash onto freshly washed paint.
Begin by rinsing the wheels. Apply a wheel cleaner that matches the wheel’s finish. Use a soft brush on the face, spokes, lug nuts, and inner barrel. Do not allow the cleaner to dry.
Clean one wheel at a time:
- Rinse the wheel and tire thoroughly.
- Apply wheel cleaner.
- Agitate the surface with dedicated brushes.
- Scrub the tire sidewall until the foam turns brown or gray.
- Rinse completely.
- Dry with a separate towel.
A clean tire improves the visual impact of glossy paint. Dark, even tire dressing creates contrast and makes the whole car appear more polished.
Avoid tire dressings that leave a thick, oily surface. They can sling onto the paint while driving and attract dust. A water-based dressing often gives a cleaner look with less mess.
Step 2: Rinse and Pre-Wash the Car
The first rinse removes loose sand and dust. This is one of the most important steps in learning how to detail a car for maximum shine because it reduces the amount of dirt touched by your wash mitt.
Rinse from the top down. Gravity helps move contamination toward the ground instead of spreading it across the upper panels.
If you have a foam cannon or pump sprayer, apply a layer of car shampoo or pre-wash foam. Allow it to dwell for a few minutes, but do not let it dry. The foam helps soften road film before contact washing.
Pre-washing does not remove every mark. It only reduces loose contamination. You still need a careful hand wash for a truly clean surface.
Step 3: Use the Two-Bucket Wash Method
The two-bucket method uses one bucket for shampoo and another for rinsing the wash mitt. It helps keep dirt away from the paint.
Start at the roof and work downward. Upper panels are usually cleaner than the lower doors, rocker panels, and rear bumper.
Follow this process:
- Add the recommended amount of shampoo to the wash bucket.
- Fill both buckets with clean water.
- Rinse the vehicle first.
- Dip the mitt into the shampoo bucket.
- Wash one small section with straight, light passes.
- Rinse the mitt in the clean-water bucket.
- Reload the mitt with shampoo.
- Continue around the vehicle.
- Rinse the entire car before the soap dries.
Do not scrub hard. Pressure does not improve cleaning when the dirt is abrasive. More pressure can grind grit into the clear coat and create swirl marks.
Use a second mitt for the lower panels. This small habit can reduce scratches, especially on vehicles exposed to mud, salt, and heavy road grime.

Step 4: Dry Without Creating Water Spots
Drying is part of how to detail a car for maximum shine, not an afterthought. Water left on the paint can contain minerals. As the water evaporates, those minerals remain and may create spots.
Use a large, clean microfiber drying towel. Lay it flat and gently pull it across the panel. Avoid pressing down or dragging a towel that has picked up grit.
An air blower is useful around:
• Mirrors
• Door handles
• Grilles
• Emblems
• Window trim
• Wheels
• Panel gaps
Blowing water from gaps prevents drips from appearing after you finish. Those late drips can carry dirt onto clean paint.
If the towel becomes wet or dirty, replace it. A damp towel can still dry a car, but a dirty towel can cause damage.
Step 5: Remove Bonded Contamination
After washing, run your clean hand over the paint while it is inside a thin plastic bag. If the surface feels rough, the paint has bonded contamination.
Common contaminants include:
• Rail dust
• Industrial fallout
• Tree sap
• Road tar
• Overspray
• Mineral deposits
• Embedded brake dust
A clay bar or synthetic clay mitt can remove many bonded particles. Use plenty of clay lubricant and work in small sections. Never use clay on dry paint.
Use iron remover for metal particles. It may turn purple as it reacts with iron contamination. Follow the product label, rinse well, and do not allow the chemical to dry.
Use tar remover only where needed. Apply it to a towel or small area, allow it to work, and wipe gently. Strong solvents can affect fresh paint, plastic, rubber, or aftermarket coatings.
Claying can leave light marring, especially on soft paint. That is why many detailers polish after decontamination.
Step 6: Inspect the Paint Before Polishing
Paint inspection helps you choose the safest correction method. Look for:
• Swirl marks
• Fine scratches
• Water spots
• Oxidation
• Bird-dropping etching
• Holograms
• Faded clear coat
• Paint chips
Use a bright light at several angles. Wash marks often appear as circular patterns. Random scratches may come from branches, brushes, or poor washing.
Before polishing the whole car, test a small area. Start with a light polish and soft pad. Check the result before using a stronger compound.
This test spot can save time and preserve clear coat. You may discover that a mild polish removes enough haze without aggressive correction.
Clear coat is thin. You cannot safely remove every scratch. If a scratch catches your fingernail, it may extend deep into the clear coat or color layer. Polishing may improve it, but complete removal could require paint repair.
Step 7: Polish for Clarity and Gloss
Polishing is often the biggest step in how to detail a car for maximum shine. It removes or refines a very thin amount of paint to reduce fine defects and improve light reflection.
There are three common levels of paint correction:
One-step polish
A one-step product combines mild cutting and finishing ability. It can improve light swirls, haze, and dullness while leaving a glossy finish.
This is a strong choice for daily drivers. It offers a good balance between appearance, time, and paint safety.
Compound and polish
A compound removes more serious defects. A finishing polish then refines the surface and increases clarity.
This process can create more correction, but it requires more time, skill, and paint inspection.
Finishing polish
A finishing polish uses very little cutting action. It can enhance gloss on already clean paint and remove faint haze.
It will not repair deep scratches or heavy oxidation.
Safe polishing technique
Work on small areas, often about two feet by two feet. Use light to moderate pressure and slow, controlled passes. Keep the pad flat and clean.
If using a dual-action polisher:
- Prime the pad with a small amount of product.
- Apply a few small drops of polish.
- Spread the product at low speed.
- Make overlapping passes at a moderate speed.
- Wipe the residue with a clean microfiber towel.
- Inspect the finish under strong light.
Clean the pad often. A loaded pad can reduce correction and increase heat. Keep the polisher moving, and avoid sharp body edges.
When I first practiced paint correction, I used too much product. The polish became difficult to remove and hid defects under an oily film. Smaller amounts gave better control and made the final inspection much clearer.
Step 8: Wipe the Paint Before Protection
Polish residue can contain oils that make the paint look glossy for the wrong reason. Before applying protection, use a suitable panel wipe or diluted isopropyl alcohol solution designed for automotive paint.
Apply the product to a towel rather than flooding the panel. Wipe one section at a time, then use a second dry towel to level the surface.
Test the panel wipe in an unseen area first. Some older trim, single-stage paint, or sensitive finishes may react poorly to strong solvents.
A clean surface allows wax, sealant, or ceramic products to bond more evenly. This improves durability and reduces streaks.
Step 9: Apply Paint Protection
Protection helps preserve the shine after detailing. It also makes future washes easier by reducing how strongly dirt sticks to the surface.
Carnauba wax
Wax can create a warm, rich look, especially on dark colors. It is easy to use but usually offers less durability than a modern sealant.
Paint sealant
A sealant often lasts longer than traditional wax. It can provide strong gloss, water behavior, and easier maintenance.
Ceramic spray
Ceramic spray products use coating technology and can add slickness and water repellency. Their durability varies widely, so follow the product instructions closely.
Professional ceramic coating
A true ceramic coating forms a more durable protective layer than a basic spray product. However, it requires careful preparation, controlled application, and proper curing.
Ceramic coatings do not make a car scratch-proof. They also do not remove the need for washing. They may reduce bonding and simplify maintenance, but poor washing can still create swirl marks.
Apply protection in a thin, even layer. Work in small sections and watch for high spots or streaks. Remove excess product within the time listed on the label.
Do not apply products to hot paint or in heavy humidity unless the manufacturer allows it.
Step 10: Finish the Glass, Trim, and Tires
Small details complete the look. Clean paint can still appear dull if the glass is streaked or the tires are gray.
For exterior glass, use a dedicated automotive glass cleaner and a low-lint towel. Wipe in vertical lines inside the vehicle and horizontal lines outside. This makes it easier to identify which side has streaks.
Restore the final areas:
• Dress the tires with a thin, even layer.
• Wipe excess tire product from the tread.
• Clean exterior trim with a suitable trim product.
• Remove polish residue from emblems and seams.
• Clean the exhaust tips if the metal finish allows it.
• Wipe door jambs with a damp microfiber towel.
Avoid applying greasy dressings to steering wheels, pedals, brake pedals, or seat surfaces. These areas need grip, not shine.
Common Mistakes That Reduce Shine
Many disappointing results come from small errors. Avoid these habits when learning how to detail a car for maximum shine:
• Washing in direct sun
• Using household dish soap often
• Using one bucket for the whole car
• Reusing dirty towels
• Scrubbing hard to remove grit
• Letting chemicals dry on the paint
• Using a dry clay bar
• Applying too much polish
• Polishing without a test spot
• Applying wax over dirty paint
• Using a rotary polisher without training
• Expecting wax to hide deep scratches permanently
Dish soap may remove grease, but repeated use can strip existing protection and dry certain rubber or plastic surfaces. A car shampoo is made to clean automotive finishes with less risk.
Automatic brush washes can also create visible swirls over time. Touchless washes are usually safer for the paint, but strong chemicals may reduce wax or sealant durability.
How Often Should You Detail a Car?
A full detail is not always needed every week. The right schedule depends on where you park, how often you drive, the climate, and the protection on the paint.
A practical maintenance plan looks like this:
• Wash every one to two weeks.
• Clean wheels and tires during each wash.
• Apply a quick detail spray or drying aid as directed.
• Inspect the paint every few months.
• Decontaminate when the surface feels rough.
• Polish only when defects or dullness require it.
• Refresh wax or sealant according to the product’s expected life.
Cars exposed to winter salt, coastal air, tree sap, or industrial pollution may need more frequent decontamination. Vehicles stored indoors may need less.
Over-polishing is not a sign of better care. Each correction removes some clear coat. Preservation is the long-term goal.
Professional Detail or DIY Detailing?
DIY detailing can produce excellent results when you have time, patience, and a safe work area. It also lets you learn how your vehicle’s paint responds to different products.
A professional may be the better choice when:
• The paint has heavy oxidation.
• Scratches are deep or widespread.
• You want multi-stage paint correction.
• You plan to install a professional ceramic coating.
• You lack indoor space or proper lighting.
• The vehicle has delicate single-stage paint.
Professional pricing varies by vehicle size, paint condition, and correction level. Ask what the service includes. A basic wash, one-step polish, and multi-stage correction are very different services.
A trustworthy detailer should explain the expected result, paint risks, product limits, and maintenance needs. Be cautious of anyone promising permanent scratch removal without inspecting the paint.
A Simple Maintenance Wash for Lasting Gloss
Once you learn how to detail a car for maximum shine, maintenance becomes easier. A careful wash protects the work you already completed.
Use this routine:
- Rinse the wheels and tires.
- Rinse the body from top to bottom.
- Apply pre-wash foam if available.
- Wash with a clean mitt and two buckets.
- Rinse thoroughly.
- Apply a compatible drying aid if desired.
- Dry with clean microfiber towels.
- Check for missed spots and water trapped in gaps.
Do not wash in circles. Straight passes make any accidental marks easier to track and correct.
Store towels clean and dry. Wash them separately from household laundry, and remove any towel that feels rough or contaminated.
Frequently Asked Questions About How to Detail a Car for Maximum Shine
What is the best order for detailing a car?
The best order is wheels and tires, pre-rinse, wash, rinse, dry, decontaminate, polish, wipe down, protect, and finish the trim and glass. This order reduces the chance of moving dirt onto clean surfaces.
Can I get maximum shine without polishing?
Yes, a clean and protected car can look very glossy without polishing. However, polishing is needed to reduce many fine swirls, oxidation marks, and surface haze that washing alone cannot remove.
Is wax or ceramic coating better for shine?
Both can improve gloss, but they work differently. Wax often gives a warm appearance, while a sealant or ceramic coating may provide stronger durability and water repellency.
How often should I clay my car?
Clay the car only when the paint feels rough after washing. Many vehicles need decontamination once or twice a year, while cars exposed to rail dust, salt, or industrial fallout may need it more often.
Can detailing remove deep scratches?
Detailing can reduce the appearance of some scratches, but it cannot safely remove every deep mark. If a scratch reaches through the clear coat into the paint or metal, professional repair may be needed.
Should I use a machine polisher as a beginner?
A dual-action polisher is usually the safest machine choice for a beginner because it is less likely to create severe damage than a rotary polisher. Practice on a test panel, use a mild polish, and avoid sharp edges.
Why does my car look shiny but still feel rough?
Gloss and smoothness are different. The car may have a reflective surface but still contain bonded contamination that requires iron remover, tar remover, or clay treatment.
Conclusion
Learning how to detail a car for maximum shine means respecting the paint at every step. Start with a safe wash, remove bonded contamination, polish only when needed, and apply protection to preserve the finish. Clean tools and gentle technique matter more than aggressive chemicals or expensive equipment.
Work slowly, inspect your results, and test products on small areas first. With steady maintenance, your car can stay smooth, clear, and glossy for years. Try these steps on your next wash, then share your results or explore more professional car care techniques.