

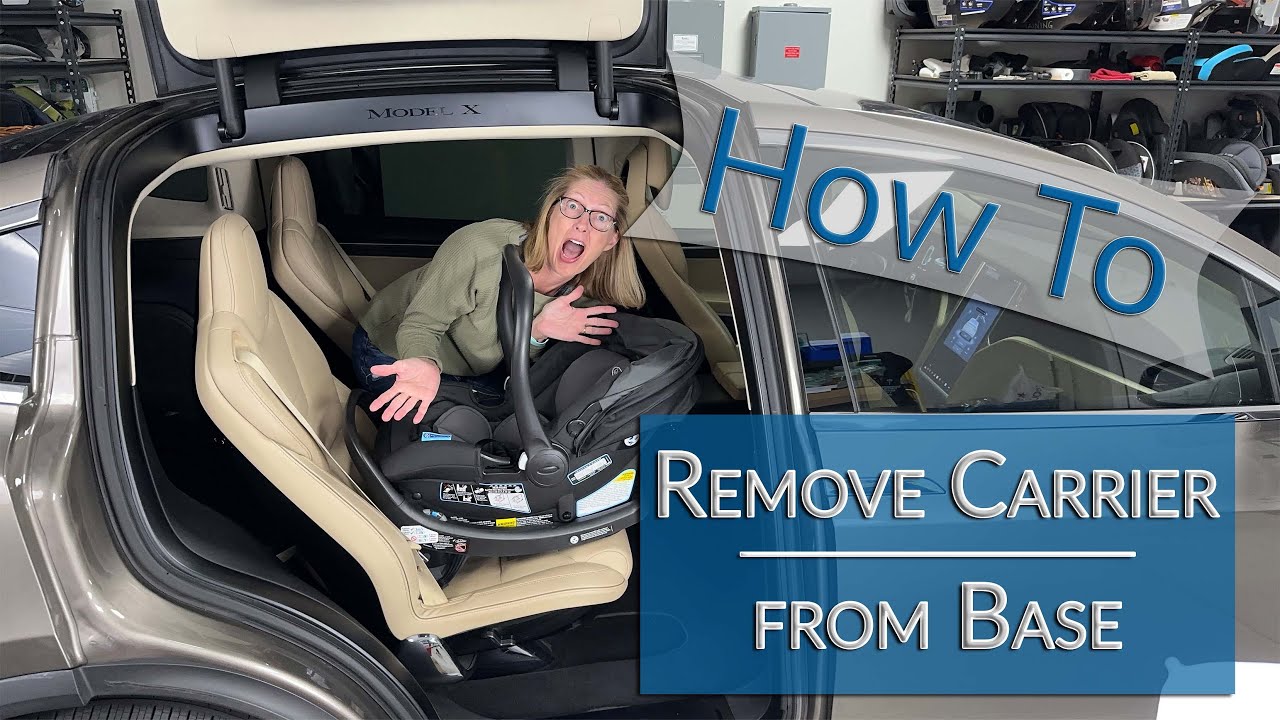
To disconnect an infant car seat from its base, first remove the child and hold the carrier by its handle. Find the carrier’s release handle or button, press or pull it as shown in the car seat manual, and lift the carrier straight up from the base. The exact release location varies by brand and model.
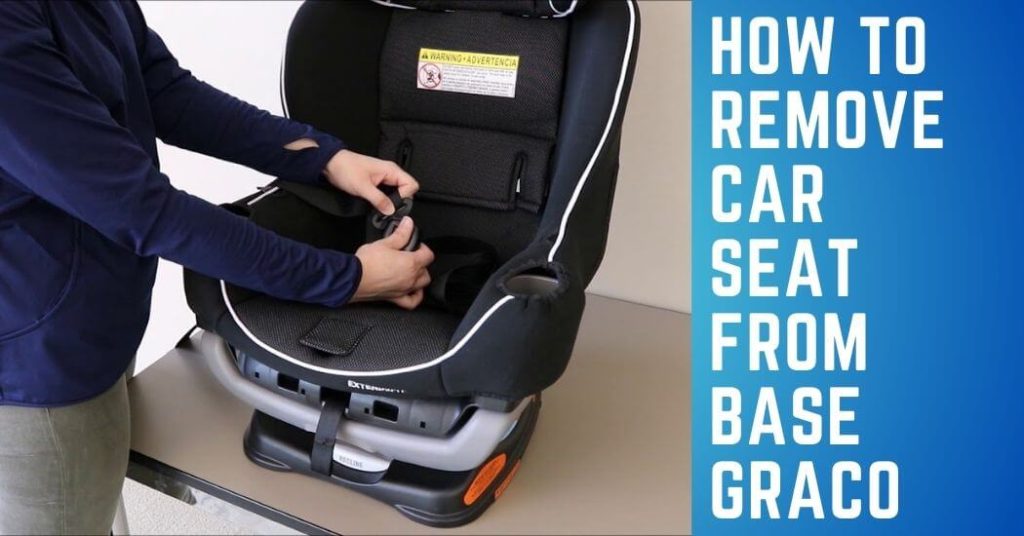
This guide applies mainly to rear-facing infant carriers that click into a separate base. A convertible car seat usually does not detach from its base because the seat and base are one unit.

Before You Disconnect the Car Seat
Make sure the vehicle is parked, the child is out of the seat, and you know which part of the seat releases. Never try to lift the carrier while your child is still strapped in unless the manufacturer specifically allows that action and you can do it without disturbing the harness.
Check these points first:
- Confirm that it is an infant carrier. The carrier should lift away from a separate base.
- Read the owner’s manual. Look for sections named “Removing the carrier,” “Removing from base,” or “Using the release handle.”
- Keep one hand on the carrier. The release may cause the seat to lift suddenly.
- Move loose items away. Blankets, toys, or seat covers can block the release handle.
- Check the handle position. Some seats require the carry handle to be in a certain position before removal.
- Use the release on the carrier, not the base installation belt. The base should normally stay secured in the vehicle.
The base is the part attached to the vehicle with the seat belt or LATCH system. The carrier is the removable portion that holds the child. The carrier and base are designed to lock together, but the release mechanism differs among brands.
How to Disconnect an Infant Car Seat From the Base
Follow these general steps. If your manual gives different directions, use the manual for your exact model.
1. Park the vehicle and remove the child
Place the vehicle in park and turn off the engine. Unbuckle the child from the harness before removing the carrier.
If the seat is in a tight space, open the vehicle door fully. This gives you room to lift the carrier without twisting it against the door frame or front seat.
2. Stand beside the car seat
Place yourself where you can see the top and sides of the carrier. Keep your feet steady and avoid leaning across the child seat from outside the vehicle.
For a rear seat position, one hand can hold the carrier handle while the other reaches for the release. This helps prevent the carrier from tipping once it is unlocked.
3. Find the carrier release
Look for a release handle, lever, or button on the back or upper side of the infant carrier. Common locations include:
- Behind the child’s head
- Near the carrier’s upper back
- At the point where the carrier meets the base
- On both sides of the carrier
- Under or beside the carry handle
Some models use one large handle. Others use a smaller button that must be pressed while you lift. Do not force a part that does not move easily.
4. Press or pull the release as directed
keep one hand on the carrier handle. With the other hand, press, squeeze, or pull the release mechanism described in the manual.
You may hear a click when the carrier unlocks. A click alone does not prove that the seat is free. Keep holding the release and begin lifting gently.
5. Lift the carrier straight up
Raise the carrier from the base with a controlled motion. Avoid rocking it hard from side to side or pulling at an angle.
If the front or rear of the carrier remains attached, lower it again and check for a second lock. Some designs use more than one contact point or require the carrier to be lifted from a specific direction.
6. Check that the base stayed installed
After removing the carrier, look at the base. It should remain flat and secure on the vehicle seat.
The base should not lift, slide freely, or appear twisted. If the base moved during removal, reinstall it according to the manual before placing the carrier back in the vehicle.
How to Tell That the Car Seat Is Fully Disconnected
The carrier is fully disconnected when it lifts away without force and the base remains in place. The release handle should return to its normal position after you let go.
Use this quick check:
- Lift the carrier a few inches while supporting its weight.
- Confirm that no part of the carrier remains hooked to the base.
- Look at the base for broken, bent, or blocked parts.
- Set the carrier on a stable, level surface.
- Before reinstalling it, check that the carrier’s attachment points are clear.
Do not carry the seat by a loose harness strap, canopy, or side padding. Use the approved carry handle or the lifting points shown in the manual.
If the carrier does not release with normal hand pressure, stop. A stuck seat may have a blocked latch, incorrect handle position, damaged part, or pressure from the vehicle seat.
What to Do If the Car Seat Will Not Release
A car seat that will not disconnect often has pressure on the latch or a release that has not been fully engaged. Work through the checks below in order.
Check the release direction
Some release handles must be pulled upward. Others must be squeezed, pressed, or moved toward the carrier. Look at the manual rather than guessing.
Remove pressure from the base
A tightly pressed vehicle seat can put pressure on the connection points. While holding the carrier securely, try pressing it down slightly and then operate the release. Do not use force or tools.
Check the handle position
Certain infant seats require the carry handle to be moved before the carrier can come out. Move it only through its marked positions. Do not push it beyond a stop.
Look for trapped material
Inspect the space between the carrier and base. A blanket, seat cover, toy, or strap may block the latch. Remove only items that are not attached to the seat and that you can reach safely.
Try a gentle straight lift
Operate the release and lift the carrier straight up. Avoid twisting, jerking, or pulling on the canopy. Those actions can damage the carrier or base.
Stop if the mechanism looks damaged
Do not use a screwdriver, lubricant, knife, hammer, or other tool to force the seat apart. Do not continue using a carrier or base with a cracked shell, bent latch, missing piece, or release that does not work correctly.
Contact the manufacturer for model-specific help. If the seat has been in a crash, has unknown damage, or cannot be confirmed as safe, ask the manufacturer or a certified child passenger safety technician about replacement. NHTSA provides information about finding certified technicians in the United States through its Child Passenger Safety resources.

How to Reconnect the Carrier to the Base
To reconnect the seat, hold the carrier over the base and align the attachment points. Lower it until you hear or feel the carrier lock into place.
Then perform a pull test:
- Make sure the release is no longer being pressed.
- Hold the carrier near the approved grip area.
- Pull upward with moderate force.
- Confirm that the carrier remains attached.
- Check that the indicators, if your model has them, show the locked position.
The carrier should sit evenly on the base. It should not lean, rock excessively, or remain partly raised.
A click is helpful, but it is not enough by itself. The carrier must also pass the manual’s visual and physical checks. If it does not lock, remove it and try again. Never drive with a carrier that is resting on the base without fully engaging the lock.
Infant Carrier vs. Convertible Car Seat
The correct removal method depends on the type of car seat.
| Seat type | Does it normally detach from a base? | What to do |
|---|---|---|
| Rear-facing infant carrier | Yes | Use the carrier release handle or button |
| Convertible car seat | Usually no | Keep the seat installed and remove the child |
| All-in-one car seat | Usually no | Follow the seat’s installation instructions |
| Travel system infant carrier | Yes | Use the same release used for the vehicle base |
A convertible seat may have a detachable cover, harness, or recline foot, but those parts do not make it a removable carrier. Do not try to separate a convertible seat from its lower structure unless the manufacturer specifically designed it to do so.
Common Mistakes to Avoid
Small mistakes can damage the seat or create an unsafe installation later.
- Pulling the carrier before pressing the release: This can increase pressure on the latch.
- Lifting by the canopy: Canopies are not usually designed to carry the full weight of the seat.
- Using a tool to pry the seat loose: This may damage hidden locking parts.
- Leaving the child buckled while lifting: The carrier can shift, and the harness can be disturbed.
- Assuming every seat releases the same way: Brand and model designs vary.
- Ignoring a moved base: Recheck the base installation after each removal if it appears to have shifted.
- Using an aftermarket insert or cover that blocks the latch: Only use accessories approved for the specific seat.
- Driving after an incomplete lock: Always perform the pull test before travel.
If you remove the carrier often, practice the motion while the vehicle is parked and the seat is empty. Learning the release location can make the process easier when the vehicle is dark or the seat is positioned tightly.
When to Replace the Carrier or Base
Disconnecting the carrier does not require replacing the seat. Replacement becomes a separate question when the seat is damaged, expired, recalled, or involved in a crash.
Check the manufacturer’s instructions for:
- The seat’s expiration date or useful-life limit
- Crash replacement rules
- Recall notices
- Approved replacement parts
- Cleaning and storage limits
- Whether the carrier and base must be used as a matching set
NHTSA advises parents and caregivers to follow the car seat manufacturer’s instructions and to register car seats so recall notices can reach them. The NHTSA car seat page also links to installation help and safety information for families in the United States.
A used car seat may be difficult to verify if its crash history, age, or parts are unknown. A missing label or missing manual is also a reason to contact the manufacturer before use.
Frequently Asked Questions
Do I remove the base every time I take out the infant car seat?
No. With most infant travel systems, the base stays installed in the vehicle while the carrier is removed. Removing the base each time adds work and may lead to a new installation error.
Why is my infant car seat stuck in the base?
The release may not be fully engaged, the carrier may be under pressure, the handle may be in the wrong position, or an object may be blocking the latch. Check the manual and try a gentle release-and-lift motion. Stop if the seat still will not release or if any part looks damaged.
Can I remove the car seat with my baby inside?
Do not do this unless the manufacturer specifically permits it and you can keep the child properly restrained throughout the process. The safer routine is to remove the child from the harness first, then disconnect the empty carrier.
Can I use the infant car seat without its base?
Some infant carriers are approved for a baseless installation with the vehicle seat belt. Others require the base. Check the exact manual for your model before using this method. Never assume that a carrier can be secured safely without its base.
What if the base comes out with the carrier?
Set the carrier down safely, then inspect the connection and base installation. The base may have been locked to the carrier or may have moved because it was not firmly installed. Reinstall it according to the manual and check that the carrier locks before driving.
Final Check Before the Next Trip
For a normal infant carrier, remove the child, hold the carrier securely, operate the correct release, and lift the carrier straight up. Do not force a stuck mechanism or use tools.
Before the next drive, confirm that the base is secure, the carrier locks fully, and the harness is adjusted correctly for the child. If the release or locking system remains unclear, use the exact model manual or seek help from a certified child passenger safety technician.