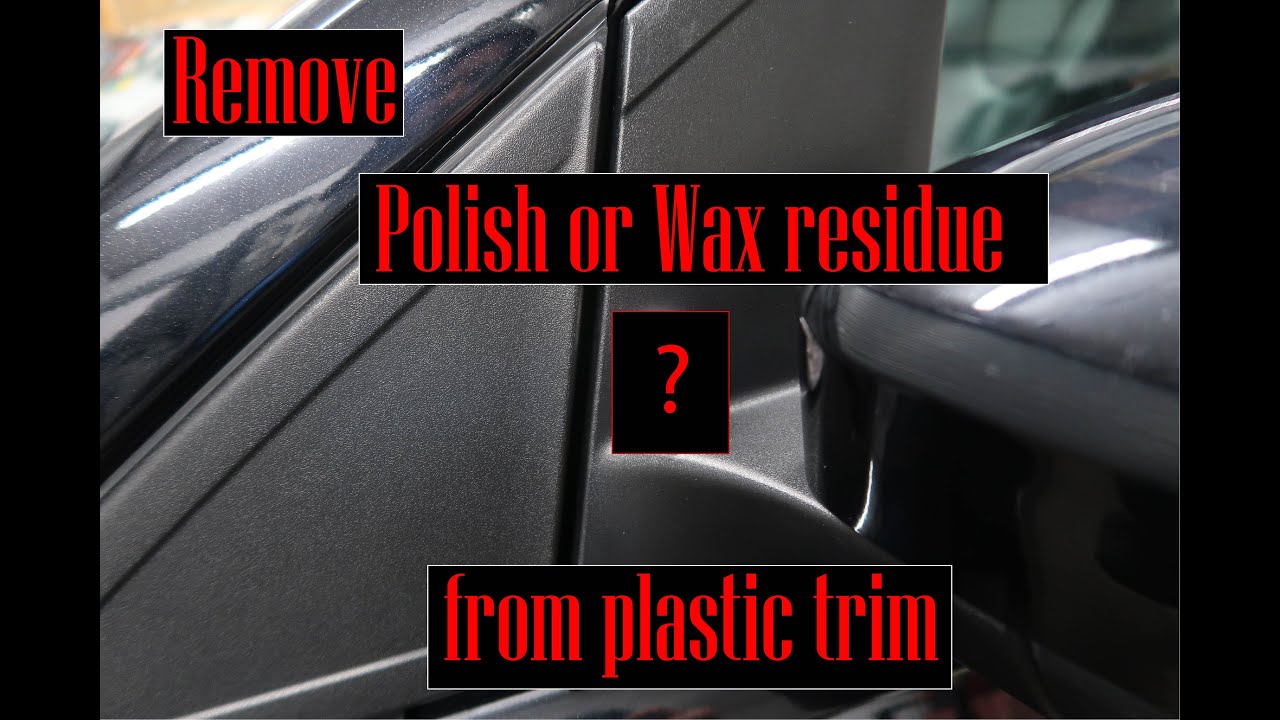
How To Remove Wax Residue From Car Trim: Quick Safe Fixes
Use a plastic scraper, gentle solvent (isopropyl/alcohol), and trim restorer to lift wax residue safely.
I’ve spent years detailing cars, fixing trim mistakes, and teaching DIYers how to restore finishes. This article walks you through how to remove wax residue from car trim with clear steps, safe products, and practical tips from real experience. You’ll learn how to identify trim types, pick the right cleaners, avoid damage, and bring faded plastic back to life. Read on to get the job done quickly and confidently.

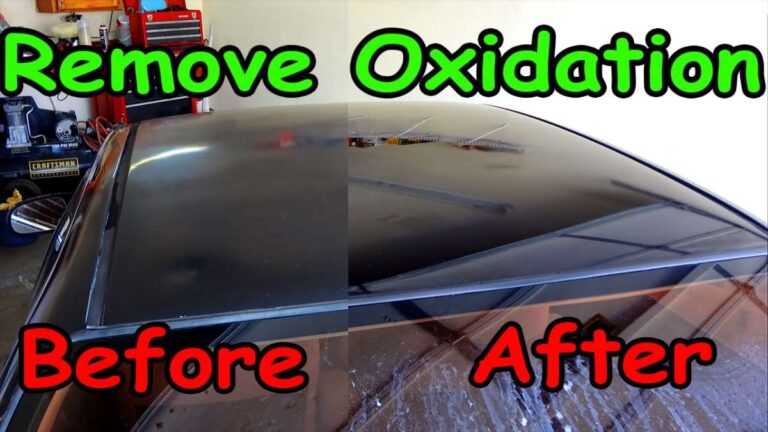
Why wax residue sticks to trim and why it matters
Wax is made of oils, polymers, and carnauba or synthetic ingredients. On paint it bonds and buffs off cleanly. On textured plastic trim, wax settles into pores and creates a filmy layer. Removing wax residue from car trim matters because leftover wax attracts dirt, changes how dressings adhere, and makes the trim look uneven or patchy.
Leftover wax can also cause trim protectants to bead up instead of penetrating. That reduces UV protection and speeds fading. Knowing why wax residue happens helps you choose the right remover and avoid damage.

Identify your trim type before you start
Trim is usually one of three types: painted plastic, matte unpainted plastic, or rubberized trim. Each reacts differently to cleaners. Painted plastic is the most delicate. Matte unpainted trim tolerates mild solvents better. Rubberized parts need gentler care.
Test a small, hidden area first. If the color or texture changes, stop and use a milder option. This step prevents surprises when you remove wax residue from car trim.

Tools and materials you’ll need
Gather items before you begin. Working methodically saves time and lowers risk.
- Microfiber towels for safe wiping and buffing.
- Soft plastic scraper or old credit card to lift dried wax.
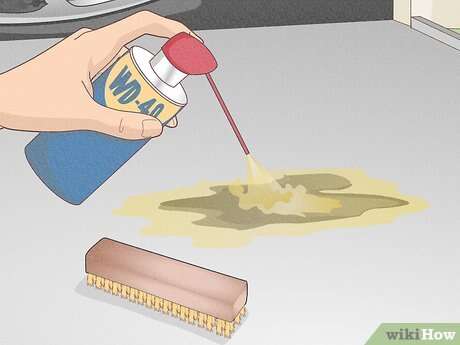
- Isopropyl alcohol (70%–90%) for light residue breakup.
- Dedicated wax and tar remover for tougher films.
- Clay bar and lubricant for embedded particles.
- Trim restorer or UV protectant to finish the job.
- Gloves and safety glasses for solvent use.
- Soft-bristled brush or detailing brush for textured areas.
Keep supplies close. The right tools make removing wax residue from car trim fast and safe.

Step-by-step: gentle methods first
Start with the least aggressive option. This protects the finish while removing most wax residue.
- Wash the area
- Use car shampoo and water to remove surface dirt. Rinse and dry with a microfiber towel.
- Mechanical lift
- Gently use a soft plastic scraper or an old credit card to lift chunks of dried wax. Work at a shallow angle to avoid gouging.
- Isopropyl alcohol wipe
- Dampen a microfiber towel with isopropyl alcohol. Lightly rub the trim. Alcohol dissolves many wax components without harsh solvents.
- Clay bar for fine residue
- Lubricate with detailing spray and glide the clay bar over the trim. This picks up tiny particles and residual wax.
- Buff and inspect
- Wipe with a clean towel and check for streaks or hazing. Repeat the alcohol wipe if needed.
From my experience, most wax residue comes off with diligence and simple tools. I often remove 90% of residue with alcohol and a clay bar before stepping up to stronger methods.
Removing stubborn wax residue safely
If gentle steps fail, use stronger but controlled methods. Always test first.
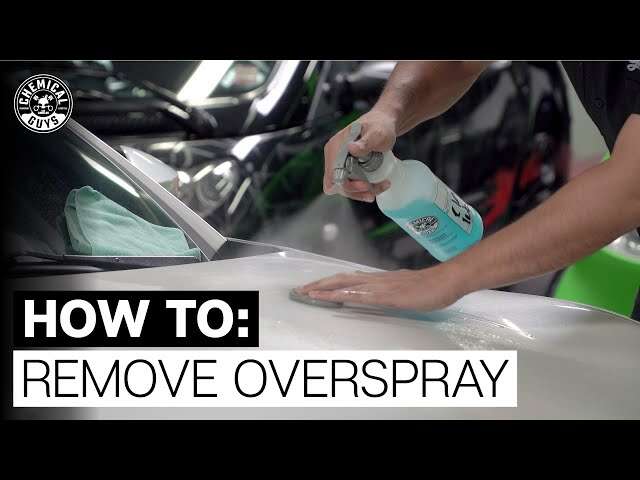
- Dedicated wax/tar remover
- Apply per product directions. Let it dwell briefly, then wipe. These are formulated to break down wax without harming plastics when used correctly.
- Mineral spirits (use sparingly)
- For very tough residue on painted or well-sealed trim, a small amount of mineral spirits on a towel can help. Do not use on rubberized matte trim.
- Plastic razor blade or trim tool
- For hardened, raised wax, a plastic razor can scrape without scratching paint. Keep the blade flat and use light pressure.
- Heat (careful)
- A hair dryer on low can soften wax for removal. Avoid high heat, which can warp plastic.
Always follow with a neutral soap rinse and a trim restorer. Safety note: ventilate the area when using solvents and wear gloves.
Protecting and restoring trim after cleaning
Once the wax residue is gone, restore protection and look.
- Clean surface first
- Remove any solvent residue with soap and water, then dry.
- Apply a trim restorer
- Use a product designed for matte or textured trim to even out color.
- Use a UV protectant
- Finish with a UV protector to slow future fading and reduce the chance of wax clinging to damaged plastic.
I learned that skipping this step leaves trim vulnerable. A proper restorer makes the trim look uniform and keeps water beading off instead of pooling.

Common mistakes to avoid
Avoid these errors to prevent damage and extra work.
- Using harsh solvents on painted or soft trims
- This can strip factory coatings and discolor plastic.
- Scrubbing too hard with abrasive pads
- Abrasives create shine on matte trim and make it stand out.
- Skipping a test spot
- Always test first or you risk irreversible damage.
- Applying dressings over residue
- Dressings on wax residue bead and look uneven. Clean first.
These mistakes are easy to make. I once used a solvent on matte trim without testing and had to repaint a small area. Learn from that and test first.

When to call a professional
If trim is painted, cracked, or the residue is extensive, a pro can help. Professionals have safe solvents, controlled heat, and experience with trim repainting. For restoration jobs requiring color matching, consider professional trim repair.
If you’re unsure, a quick consultation can save time and avoid costly mistakes when removing wax residue from car trim.
People also ask
What quickly removes wax residue from trim?
- Isopropyl alcohol or a dedicated wax remover usually does the trick. Test a hidden area first.
Can I use a clay bar on plastic trim?
- Yes, clay bars can remove fine residue when used with lubricant. Avoid aggressive claying on very soft or porous rubber.
Will wax ruin trim permanently?
- Wax rarely causes permanent damage, but trapped wax can hide fading and make trim look uneven until removed.
Frequently Asked Questions of How to remove wax residue from car trim
How long should I let a wax remover sit on trim?
Follow the product instructions; typically 30 seconds to a few minutes is enough. Wipe promptly and rinse to avoid solvent soak.
Can I use rubbing alcohol on all types of trim?
Rubbing alcohol is safe on most painted and hard plastics but can dry out rubberized trims. Test first and follow with a conditioner if needed.
Will a clay bar remove all wax residue?
A clay bar removes embedded particles and light residue. For heavy wax buildup, pair clay with solvent or dedicated wax remover.
Is heat a good option to soften wax?
Low heat, like a hair dryer, can soften wax for removal. Avoid high heat that could warp or discolor trim.
How often should I protect trim after cleaning?
Apply a UV protectant or trim restorer every 3–6 months, depending on sun exposure. Regular protection reduces future wax attraction and fading.
Conclusion
Removing wax residue from car trim is a simple task when you use the right steps and products. Start gentle, test always, and move to stronger methods only when needed. Finish with a dedicated trim restorer and UV protectant to keep results lasting. Try these steps on a small area first, and then tackle the whole car with confidence. If you found this helpful, subscribe for more detailing tips or leave a comment with your toughest trim challenge.