

Clean cloudy, yellow car headlights with wet sanding, polish, and UV sealant for lasting clarity.
Knowing how to clean car headlights that are cloudy and yellow can restore light output, improve night vision, and make an older vehicle look much newer. The right method depends on how deep the damage is, but careful washing, sanding, polishing, and UV protection usually work far better than household shortcuts. This guide explains how to clean car headlights that are cloudy and yellow with safe steps, simple tools, and practical detailing advice.
Why Car Headlights Become Cloudy and Yellow
Most modern headlights use polycarbonate plastic instead of glass. This plastic is strong and light, but its factory UV coating can wear away after years of sunlight, heat, road grit, salt, and harsh car wash chemicals.
Once the protective layer breaks down, the plastic oxidizes. The surface may look hazy, white, yellow, or brown. Fine scratches can also scatter light, which makes the beam weaker and less clear.
Common causes include:
• Long-term exposure to ultraviolet sunlight
• Road dust, sand, and small stones
• Automatic car washes and rough brushes
• Strong solvents or abrasive cleaners
• Moisture inside the headlight housing
• Age and poor storage outdoors
Learning how to clean car headlights that are cloudy and yellow starts with finding the source of the problem. If the cloudiness is on the outside, restoration may solve it. If water or fog sits inside the housing, the seal or vent may need repair.
How to Check the Headlight Damage
Before you start, wash and dry the lens. Run a clean finger over the surface and look at it from several angles in daylight.
Use this quick check:
• If the surface feels rough and looks yellow, the outer plastic is oxidized.
• If the lens looks clear but the inside is foggy, the problem is likely moisture inside the housing.
• If you see cracks, deep pits, or peeling plastic, a simple polish may not provide a lasting repair.
• If the lens is badly damaged or loose, replacement may be safer than restoration.
A useful test is to place a small amount of car polish on a microfiber cloth and rub one corner of the lens. If that spot becomes clearer, the damage is likely on the surface.
Do not ignore a cloudy headlight. The National Highway Traffic Safety Administration has reported that good visibility is a key part of safe driving, especially at night and in poor weather. A restored lens cannot fix a weak bulb or poor aim, but it can remove a major source of scattered light.
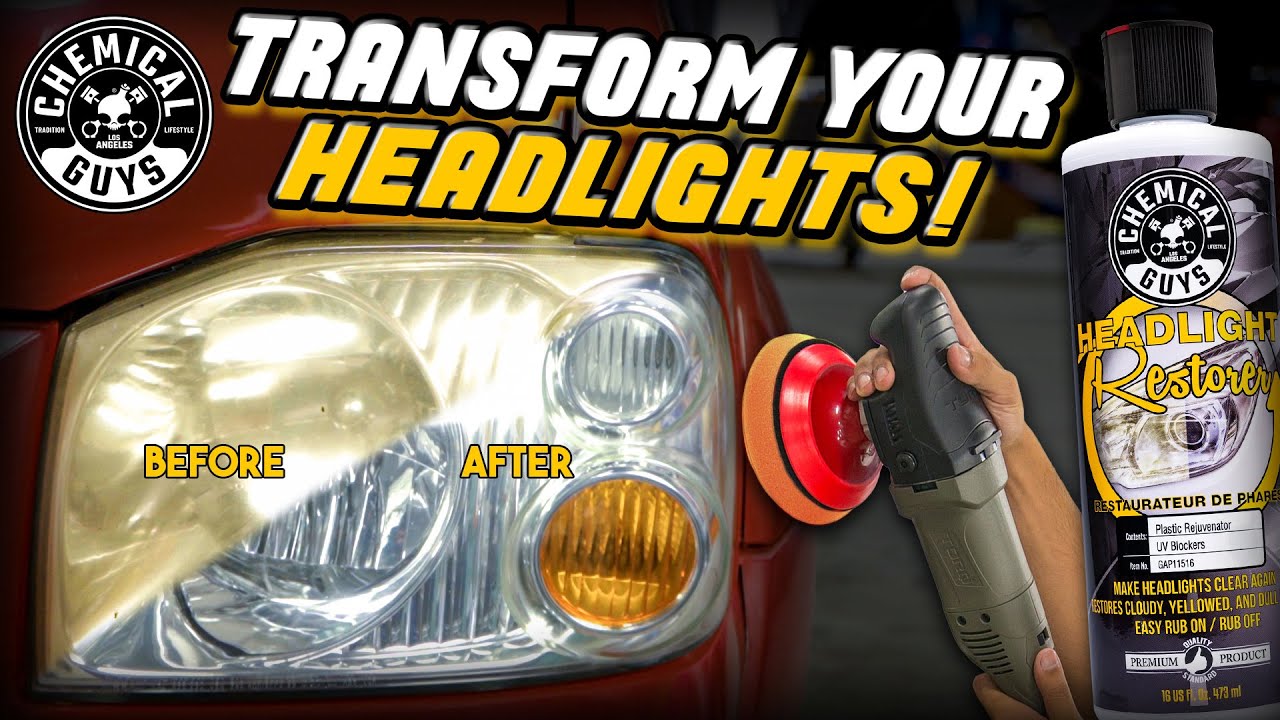
Tools and Materials You Will Need
The best method for how to clean car headlights that are cloudy and yellow uses basic detailing supplies. You do not need a professional machine, although a dual action polisher can save time.
Gather these items:
• Car wash soap
• Two buckets of clean water
• Microfiber towels
• Automotive masking tape
• A spray bottle filled with water
• Wet and dry sandpaper, such as 800, 1,000, 1,500, 2,000, and 3,000 grit
• Plastic polish or automotive compound
• A foam applicator or polishing pad
• Nitrile gloves and eye protection
• A UV resistant headlight coating or clear protective sealant
Use a headlight restoration kit if you want a matched set of products. Many kits include sanding discs, polish, and a UV coating. Check the instructions because grit levels and curing times vary between brands.
Avoid household toothpaste, baking soda, acetone, paint thinner, and strong solvents. These products may create short-term shine but can scratch, soften, stain, or strip the plastic.
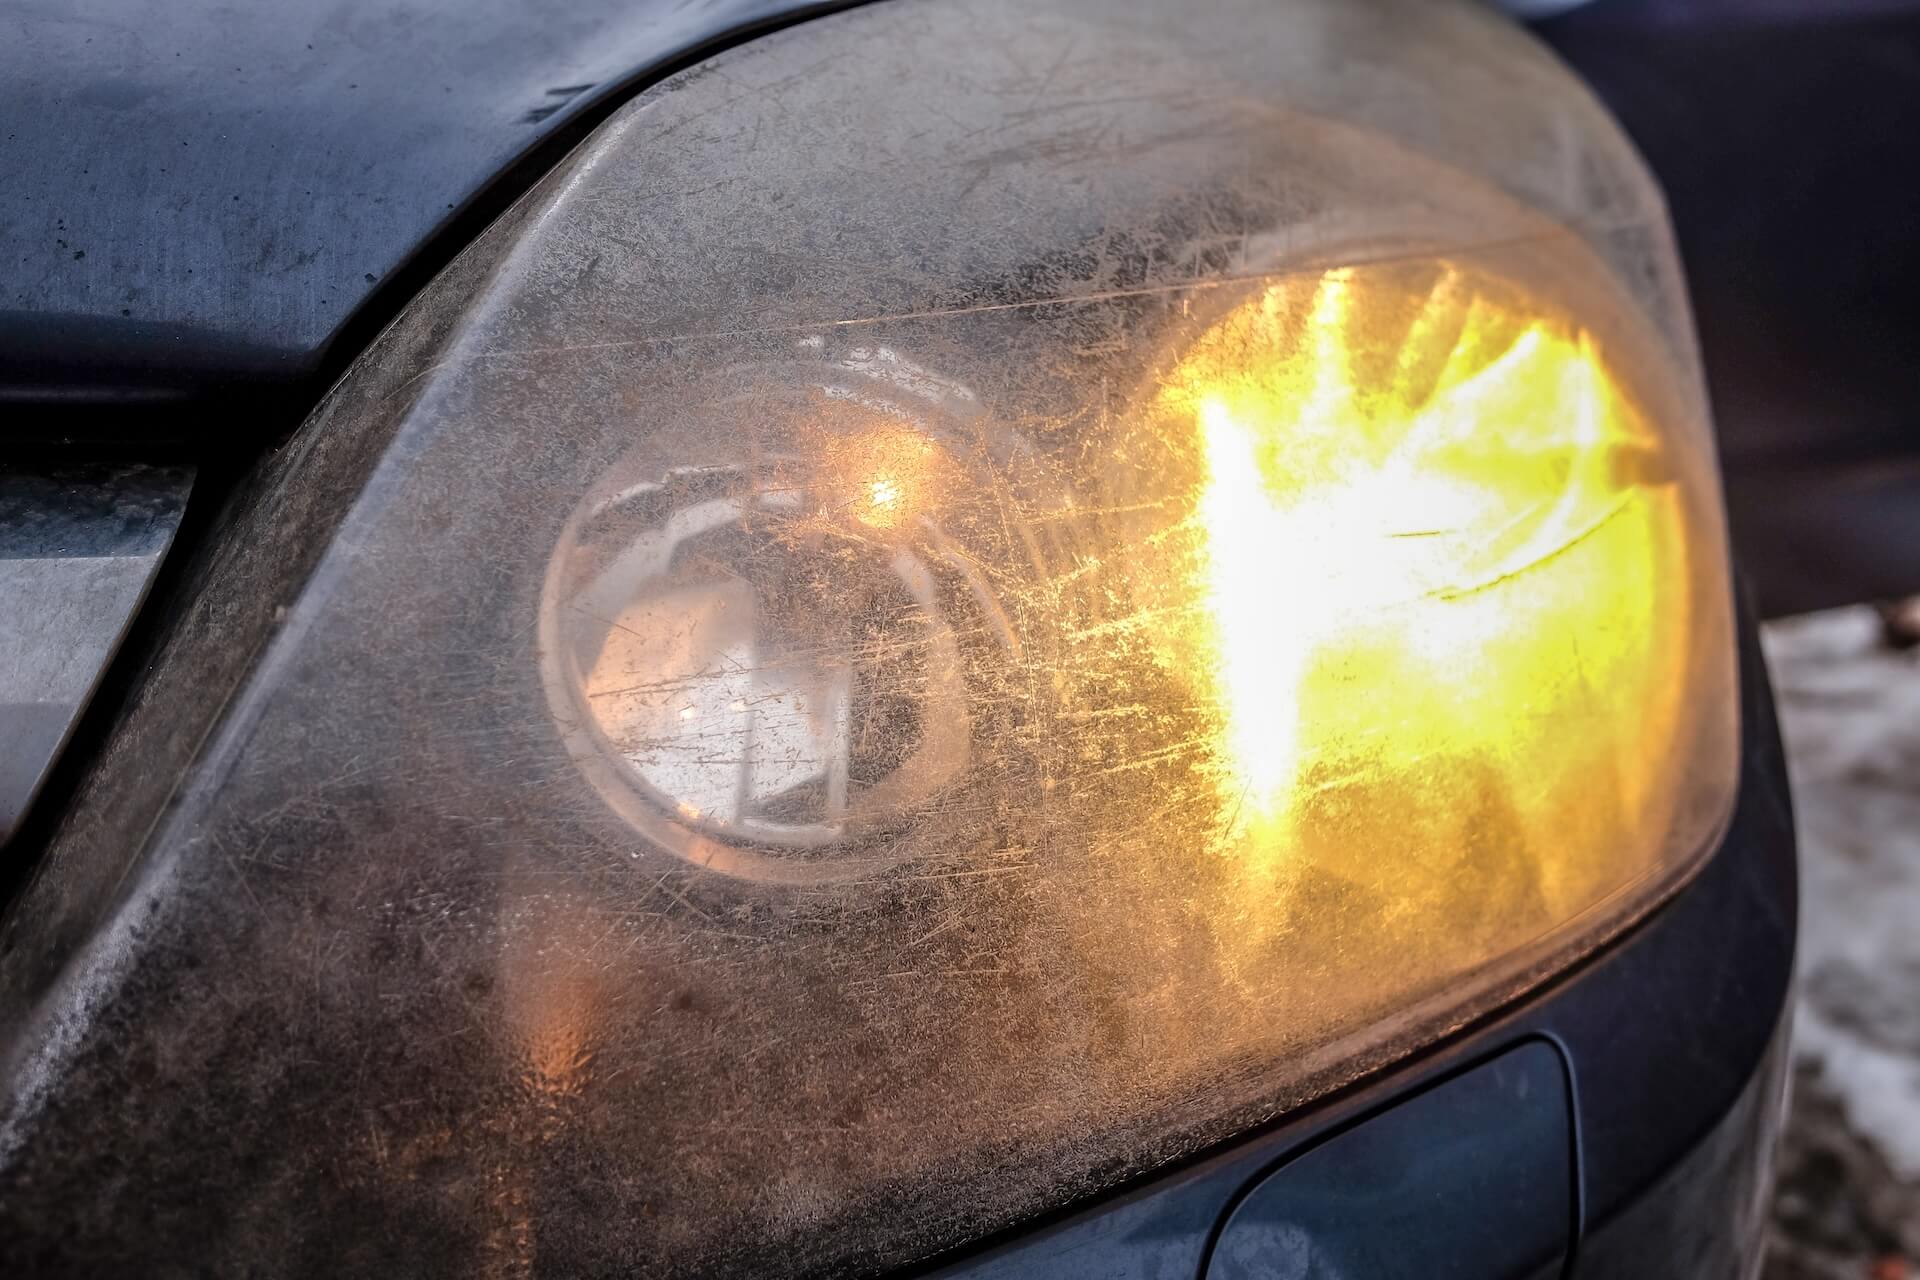
How to Clean Car Headlights That Are Cloudy and Yellow: Step by Step
This method works for most external oxidation. Take your time. The goal is to remove the damaged surface evenly, then create a smooth finish and protect it from sunlight.
1. Wash the Headlights
Wash the headlights with car soap and water. Remove bugs, road film, and grit from the lens and nearby paint.
Dry the area with a clean microfiber towel. Any dirt left behind can become trapped under sandpaper and create deeper scratches.
2. Protect the Paint
Apply two or three layers of masking tape around each headlight. Cover the bumper, fender, hood, and grille near the lens.
Sanding plastic is easy. Sanding painted panels by accident is not. Good masking takes a few minutes and can prevent an expensive repair.
3. Start With Wet Sanding
Soak the sandpaper in clean water for at least a few minutes. Spray the lens often as you work.
Use 800 grit only when the oxidation is heavy. For mild haze, begin with 1,000 or 1,500 grit. Sand in straight strokes from left to right, then change direction with the next grit.
Keep the pressure light and the surface wet. You should see an even, dull haze across the whole lens. Do not stop while random yellow or glossy patches remain, because those areas show that the old damaged coating is still present.
4. Move Through Finer Grits
After the first grit, rinse the lens and wipe it clean. Move to 1,500, 2,000, and then 3,000 grit.
Each finer grade should remove the marks from the previous grade. Change your sanding direction between grits. For example, use horizontal strokes with one grit and vertical strokes with the next.
This step may feel slow, but it creates the smooth base that makes polishing effective. Skipping grits often leaves visible scratches beneath the final shine.
5. Polish the Plastic
Apply a small amount of plastic polish or automotive compound to a foam pad. Work in small sections using moderate pressure.
You can polish by hand, but a dual action polisher with a foam pad usually produces a more even result. Keep the machine moving and avoid building excess heat in one spot.
Wipe away residue with a clean microfiber towel. Repeat the process if the lens is still hazy.
6. Apply UV Protection
Polishing makes the headlight clear, but it does not provide lasting UV protection. Apply a dedicated headlight coating, UV sealant, or clear protective film according to the product directions.
Work in a shaded, dry area. Keep the vehicle still while the coating cures. Avoid washing or driving in rain during the stated cure time.
This final step is essential. Without UV protection, the plastic can begin to yellow again within weeks or months, depending on sunlight, climate, and product quality.

How to Clean Car Headlights That Are Cloudy and Yellow Without Sandpaper
Light haze may respond to a plastic polish without sanding. Wash the lens, apply a small amount of polish, and rub it with a microfiber towel or foam pad.
This approach is gentle and quick, but it has limits. It will not remove heavy oxidation, deep scratches, or a badly damaged factory coating.
Some drivers use a headlight restoration cream for mild cloudiness. Follow the label and test it on a small area first. A product made for plastic is safer than a general household cleaner.
If the lens becomes clear for only a short time, the old oxidation was probably deeper than the polish could reach. In that case, use the full sanding and sealing process.

Common Mistakes to Avoid
Many failed headlight restorations come from rushing the preparation or skipping protection. The cleaning itself is simple, but uneven work can leave the lens patchy.
Avoid these mistakes:
• Sanding a dry lens
• Using too much pressure
• Starting with very coarse sandpaper on light haze
• Failing to mask nearby paint
• Stopping before the surface looks evenly dull
• Mixing dirty towels with clean polishing towels
• Using a household solvent
• Applying a coating over dust, oil, or water
• Skipping the UV sealant
• Polishing only the center of the lens
A common lesson from hands-on detailing is that the final coating matters as much as the polishing. A clear lens without UV protection is like clean skin without sunscreen. It may look good now, but sunlight will quickly undo the work.

How to Clean Car Headlights That Are Cloudy and Yellow Safely
Wear gloves and eye protection when sanding or using chemical products. Keep polish, coating, and sanding water away from your eyes, skin, pets, and children.
Work outdoors or in a well-ventilated garage. Read the safety label for every coating and solvent. Do not smoke or use an open flame near flammable products.
Never sand a hot headlight. Heat can soften plastic and make the surface uneven. Choose a cool day or work in the shade, but make sure the lens stays dry when you apply the final coating.
If the headlight has a crack, exposed wiring, or heavy internal moisture, stop the restoration. A professional technician can check the seal, vent, bulb socket, and housing for damage.
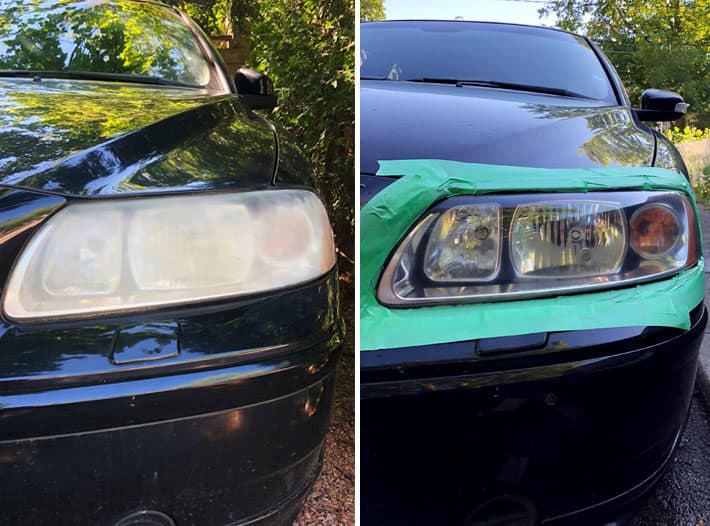
Professional Restoration or DIY Repair?
A do-it-yourself restoration often costs less than replacing both headlight assemblies. It can also provide excellent results when the plastic is sound and the work is done evenly.
Professional service may be better when:
• The headlight has deep cracks or severe pits
• Moisture is trapped inside the housing
• The lens is peeling in large pieces
• The vehicle uses expensive adaptive lighting
• You do not have a safe place to sand and apply coating
• The headlight aim needs testing or adjustment
Replacement is sometimes the most reliable option. A restored lens cannot repair damaged reflectors, burned wiring, weak bulbs, or broken internal parts.
Before spending money, compare the cost of a quality restoration with the price of a replacement assembly. Cheap replacement lights may fit poorly or provide a weaker beam, so check quality and compatibility carefully.

How to Keep Headlights Clear Longer
After learning how to clean car headlights that are cloudy and yellow, protect the result with simple maintenance.
Wash the lenses when you wash the car. Remove bug remains and road salt before they dry hard. Use car soap and a soft microfiber mitt instead of a rough brush.
Apply a UV protectant made for automotive plastic at the interval listed on the label. Parking in a garage or shaded area also reduces UV exposure.
Inspect the lenses every few months. Early haze is easier to polish than thick oxidation. If you catch the problem early, you may avoid heavy sanding.
Keep a clean microfiber towel in the car for wiping road film from the lights during long trips. Never wipe dry grit across the lens, since it can create fine scratches.

How to Clean Car Headlights That Are Cloudy and Yellow: Results and Limits
A careful restoration can make cloudy headlights look clear and improve the way light passes through the lens. It cannot make old plastic permanently new.
Results depend on:
• The depth of oxidation
• The condition of the plastic
• The quality of the polish
• The type of UV coating
• Sun exposure and local weather
• How carefully the surface was prepared
Some lenses stay clear for several years with a high quality coating and good care. Others may haze again sooner, especially in hot, sunny regions. Be honest about this limitation before starting the project.
After restoration, test the lights at night on a quiet road. Check that both beams look even and that the headlight aim is correct. Never point a brighter beam into oncoming traffic.
Frequently Asked Questions About How to Clean Car Headlights That Are Cloudy and Yellow
Can toothpaste clean cloudy and yellow headlights?
Toothpaste may reduce light haze because it contains mild abrasives. However, it does not replace proper sanding, polishing, or UV protection, so the result is usually temporary.
What is the best way to clean yellow headlights?
The most reliable method is wet sanding, polishing, and applying a UV resistant headlight coating. Use the least abrasive sanding grade that removes the oxidation evenly.
How long does headlight restoration last?
It may last from several months to a few years. The life depends on the coating, sunlight, climate, parking habits, and regular maintenance.
Can I clean the inside of a cloudy headlight?
If the haze is inside, exterior polishing will not solve it. The housing may need to be removed, dried, resealed, or replaced by a qualified technician.
Is wet sanding safe for plastic headlights?
Yes, when you use light pressure, plenty of water, proper grit changes, and careful masking. Dry sanding or excessive pressure can overheat or damage the lens.
Do I need to seal headlights after polishing?
Yes. Polishing removes oxidation but leaves the plastic exposed to UV light. A UV resistant coating, sealant, or protective film helps prevent rapid yellowing.
Should I replace or restore yellow headlights?
Restore them when the plastic is solid and the damage is mostly surface oxidation. Replace them when there are cracks, severe pitting, internal damage, or failed seals.
Conclusion
The safest answer to how to clean car headlights that are cloudy and yellow is to wash, mask, wet sand, polish, and protect the lens with a UV coating. Start with a mild approach for light haze, and use progressively finer sandpaper for deeper oxidation. Work slowly, keep the surface wet, and never skip the final protective layer.
Clear headlights can improve appearance and help you see the road more easily at night. Set aside an afternoon, gather the right supplies, and restore one headlight at a time. Share your results or explore more practical car care guides for your next detailing project.