

Detailing a car engine for a car show means cleaning it safely, restoring its finish, and presenting every visible part with care.
A clean engine bay can change the way judges and visitors see the entire car. After preparing show cars over the years, I have learned that the best results do not come from soaking everything in dressing. They come from careful cleaning, proper drying, light polishing, and a factory-correct finish. This guide explains how to detail a car engine for car show judging without damaging delicate parts or creating an overly glossy look.
Why Engine Bay Detailing Matters at a Car Show
The engine bay is often the first place experienced judges look after checking the paint and wheels. It shows how well the owner maintains the car. A dusty bay, stained hoses, or loose wiring can make an otherwise excellent vehicle seem unfinished.
Learning how to detail a car engine for car show presentation also helps protect parts from grime, road salt, oil film, and moisture. Dirt can hide leaks and make rubber parts dry faster. A clean engine bay makes future inspections easier because new fluid leaks stand out.
A show-ready engine bay does not always need to look brand new. A classic car may deserve an original satin finish, while a modern performance car may look best with clean plastic covers and natural rubber. The goal is a neat, honest, and well-planned appearance.

Safety Checks Before Cleaning the Engine
Before learning how to detail a car engine for car show results, prepare the car and protect sensitive parts. Engine cleaning is safe when you control water, heat, and cleaning chemicals.
Follow these basic steps:
- Park the car on a level surface in a shaded area.
- Let the engine cool fully before applying cleaner or water.
- Remove jewelry, loose clothing, and anything that can catch on moving parts.
- Disconnect the battery if the vehicle manufacturer recommends it.
- Read the owner’s manual before covering or washing electrical parts.
- Keep the keys away from the vehicle if it has a push-button start.
- Never clean an engine while it is running.
A warm engine may dry products too quickly and leave marks. A hot metal surface can also react badly to cold water. Steam, rapid cooling, and trapped moisture can create problems around connectors and sensors.
Use eye protection and chemical-resistant gloves. Engine cleaners can irritate the skin and eyes. Work in a place where dirty runoff will not enter a storm drain. Many local areas regulate the release of oily water, so collect runoff when possible and follow local rules.

Tools and Products You Will Need
The right tools make how to detail a car engine for car show work faster and safer. You do not need a large professional kit, but you do need separate tools for dirty and delicate areas.
Gather the following supplies:
• Soft detailing brushes in several sizes
• A soft microfiber wash mitt
• Several clean microfiber towels
• A low-pressure hose or pump sprayer
• A mild engine-safe degreaser
• Automotive shampoo or an all-purpose cleaner diluted as directed
• Plastic bags and painter’s tape
• A vacuum or compressed air
• A soft boar-hair or synthetic brush
• Plastic and rubber dressing with a natural finish
• Metal polish for approved surfaces
• Glass cleaner for inspection windows and glossy panels
• Nitrile gloves and safety glasses
• A small handheld steamer, used with care
Avoid household dish soap for repeated use. It can remove protective oils from rubber and may leave a dull film. Strong solvents can stain painted surfaces, soften labels, or damage wiring insulation.
Use one towel for drying and another for applying dressing. A towel that touched degreaser should not be used on painted body panels. Cross-contamination is a common mistake, especially when a show car has a clean white or light-colored finish.

Step 1: Inspect and Photograph the Engine Bay
A careful inspection should come before cleaning. Look for oil leaks, coolant residue, cracked hoses, loose clamps, damaged wire coverings, and missing fasteners. Detailing will improve the appearance, but it will not repair a mechanical fault.
Take photos from several angles before removing anything. This helps you return covers, clips, and wires to their original positions. It also gives you a useful record if a small part breaks or moves during the process.
Pay special attention to these areas:
• Alternator and starter motor
• Fuse and relay boxes
• Air intake openings
• Exposed electrical connectors
• Ignition components
• Turbocharger or supercharger openings
• Open breathers and fluid reservoirs
• Hood insulation and painted firewall areas
If you see fresh oil or coolant, find the source before the show. A clean engine bay with an active leak is not a finished detail. Judges may also notice the smell or wet residue.
Step 2: Remove Loose Dirt and Cover Sensitive Parts
Start with a dry clean. Use a vacuum, soft brush, or compressed air to remove leaves, sand, and loose dust. Dry cleaning first reduces the amount of muddy residue created when water touches the surface.
Do not aim compressed air directly at seals, electrical connectors, or delicate labels. Use short bursts from a safe distance. On older cars, aged wiring and brittle plastic may not tolerate strong air pressure.
Cover parts that should stay as dry as possible:
• Alternator
• Open air filter or intake
• Fuse box
• Coil packs and exposed ignition parts
• Aftermarket electronics
• Loose electrical connections
• Distributor cap on older vehicles
Use plastic bags and painter’s tape. Do not wrap a hot engine, and do not leave covers on after washing. Covers are temporary protection, not a replacement for careful water control.
When detailing a car engine for car show preparation, always protect the intake opening. Water inside the intake can reach the engine and cause serious damage. If the filter is exposed, remove it or seal the intake securely before washing.

Step 3: Clean the Engine Bay from Top to Bottom
Begin with the underside of the hood. Spray cleaner onto a brush or towel rather than flooding the surface. Agitate the hood structure, insulation, seams, and latch area. Then wipe the loosened dirt away with a damp microfiber towel.
Move to the upper engine bay and work in small sections. A small brush can reach around brackets, hose clamps, reservoirs, and plastic covers. Use gentle pressure. The goal is to lift dirt, not force it deeper into gaps.
A good cleaning order is:
- Hood underside
- Firewall
- Inner fenders
- Radiator support
- Engine covers
- Hoses and wiring
- Lower bay and visible subframe areas
Apply a mild cleaner to one section at a time. Let it dwell briefly, but never allow it to dry. Agitate with a soft brush, then rinse with a light mist or low-pressure stream.
Avoid high-pressure spray. It can push water past seals, remove labels, loosen connectors, and drive grit into bearings. In my experience, a pump sprayer and microfiber towels often produce a better show finish than a pressure washer.
Step 4: Clean Different Engine Materials Correctly
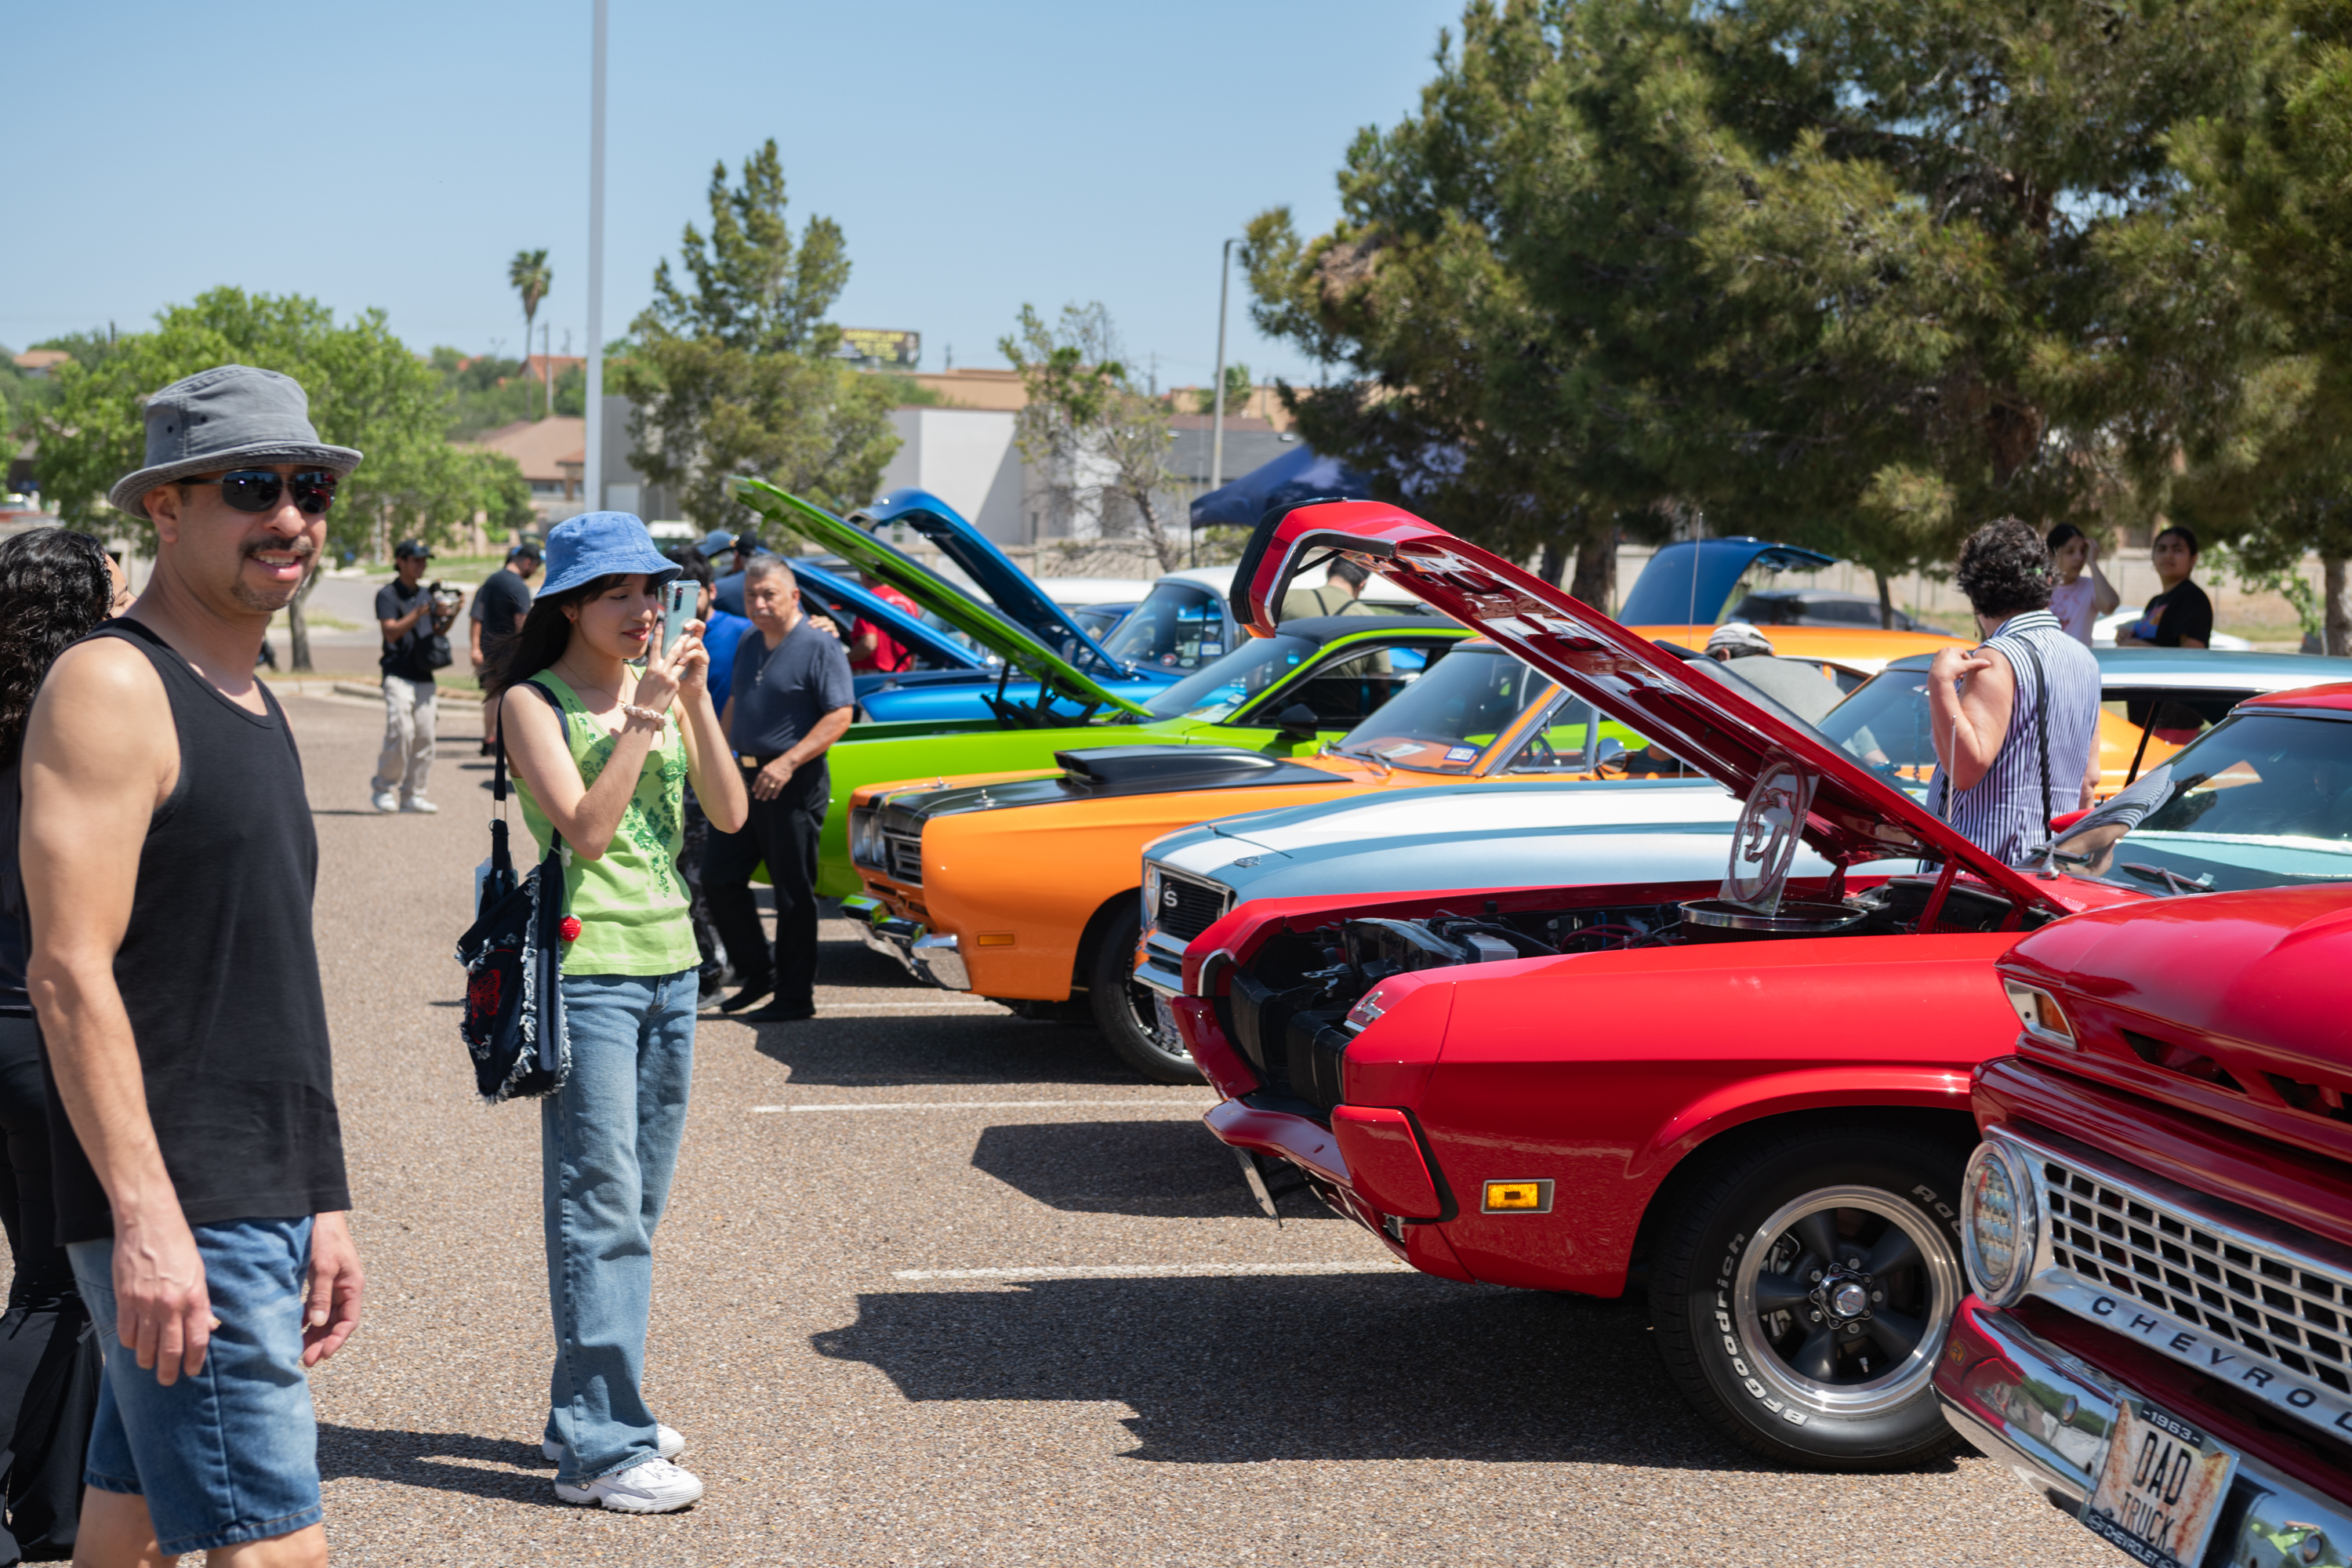
Different materials need different methods. Treating every surface with one strong degreaser is a quick way to create stains or an unnatural finish.
Painted metal
Use a mild automotive cleaner and a soft microfiber towel. Rinse lightly and dry at once. If the paint has light oxidation, a suitable polish may restore clarity, but test a hidden spot first.
Plastic covers
Clean plastic with diluted automotive cleaner and a soft brush. Wipe until no residue remains. Avoid heavy silicone dressing because it can attract dust and look too shiny under show lighting.
Rubber hoses
Use a mild cleaner and a soft brush. Rinse and dry fully before applying a water-based dressing. A natural satin finish usually looks more original than a wet gloss.
Aluminum
Bare aluminum can stain when exposed to strong alkaline products. Use a product made for aluminum, keep dwell time short, and rinse thoroughly. Polish only if the vehicle’s style calls for a bright metal finish.
Chrome and polished metal
Clean chrome with a gentle metal cleaner. Use a dedicated polish on polished metal, then buff away all residue. Do not polish plated parts aggressively, as thin plating can wear through.
Decals and labels
Use a damp microfiber towel and mild cleaner. Never scrub old labels with a stiff brush. Preserving original markings can be more valuable than making them perfectly bright.
Knowing how to detail a car engine for car show judging means understanding the car’s materials and age. A 1960s restoration and a new sports car should not receive the same treatment.

Step 5: Rinse and Dry the Engine Bay
Rinsing should be controlled and brief. Use a gentle stream from a hose or a pump sprayer. Start at the back of the bay and move toward the front so dirty water flows away from cleaned areas.
Do not spray directly into connectors, vents, bearings, or the alternator. If a surface is already clean, a damp towel may be safer than more water. Excess water is one of the main risks during engine bay detailing.
Dry the bay in layers:
• Blow water from seams with low-pressure air.
• Wipe broad surfaces with a clean microfiber towel.
• Use small towels around clamps, labels, and connectors.
• Open covers only after the outside is dry.
• Allow the vehicle to sit with the hood open.
A garage fan can help move air, but do not use high heat near plastic, rubber, or wiring. Check for trapped water around the battery tray, hood latch, and inner fenders.
After drying, start the engine only when you are confident that exposed electrical parts and intake openings are protected. Let it run briefly in a well-ventilated area, then shut it off and inspect for warning lights or unusual sounds. Follow the owner’s manual for any battery or electronic reset procedure.
Step 6: Restore Rubber, Plastic, and Metal Finishes
Dressing is where many engine details go wrong. Too much product can make the engine bay look greasy and attract dust. It may also spread onto belts, pulleys, or hot surfaces.
Apply dressing to a foam applicator or microfiber towel, not directly onto the engine. Wipe a thin layer over rubber hoses, plastic trim, and selected covers. Allow it to soak in, then buff the surface until it feels dry.
Choose a finish based on the car:
• Natural satin for original or restored vehicles
• Low sheen for most modern engine bays
• Higher gloss only when it matches the vehicle’s design
Never apply dressing to serpentine belts, timing belts, pulleys, brake parts, tires inside the bay, or areas that become very hot. Avoid spraying near electrical connectors. Read the product label for temperature limits.
For metal, use a small amount of polish on a microfiber towel. Work in a small area, then remove all residue. A polished bolt head or bracket can add detail, but polishing every part may make the bay look less authentic.
Step 7: Detail Small Areas That Judges Notice
Small finishing touches often separate a clean engine bay from a show-ready one. Judges may notice details that casual viewers miss because these areas reveal how carefully the car was prepared.
Clean the following parts:
• Hood latch and catch
• Strut towers
• Radiator support
• Battery tray
• Fluid caps
• Hose clamps
• Wiring brackets
• Firewall seams
• Inner fender edges
• Hood hinges
Use cotton swabs or small brushes for narrow spaces. Replace damaged clips and missing fasteners with correct parts when possible. Do not hide poor repairs with thick dressing or fresh paint.
Straighten loose wiring only when you can do so safely. Never pull hard on a harness. If a wire is damaged, have a qualified technician repair it before the show.
One lesson I learned early is to avoid adding decorative parts at the last moment. Bright bolts, colored hoses, and excessive chrome may not suit the car. Good detailing supports the design. It should not compete with it.
How to Detail a Car Engine for Car Show Judging
Show judging often rewards consistency, cleanliness, and attention to detail. A spotless engine bay with dirty wheel wells or an oily underside may look incomplete. Try to create a clean visual flow from the hood to the engine and down to the surrounding panels.
For how to detail a car engine for car show presentation, use this final judging checklist:
• The hood underside is clean.
• The firewall has no visible dust or oily film.
• Hoses look clean and natural.
• Plastic covers have no greasy residue.
• Metal parts are polished only where appropriate.
• Labels and factory markings remain readable.
• Wiring is neat and secure.
• Fluid caps are clean and properly installed.
• No water remains in seams or connectors.
• No dressing has reached belts or hot parts.
• The engine bay matches the vehicle’s age and style.
Originality matters in many classes. A stock restoration may lose appeal if the owner coats factory parts in high gloss. On the other hand, a custom show car may benefit from polished hardware and carefully chosen finishes. Always check the event rules if trophies or class points matter.
Common Mistakes to Avoid
A few mistakes appear again and again when people learn how to detail a car engine for car show events. Most are easy to prevent with a slower process.
Using a pressure washer
High pressure can force water into electrical parts and seals. A low-pressure rinse gives you more control and reduces risk.
Cleaning a hot engine
Hot surfaces can dry chemicals too fast and create stains. They can also turn water into steam near sensitive areas. Always work on a cool engine.
Applying too much dressing
A wet-looking engine bay collects dust and can sling product onto belts. Apply a thin layer and wipe it dry.
Ignoring the underside of the hood
The hood underside is highly visible when the car is displayed open. Clean it early in the process.
Using one brush everywhere
A brush used on greasy metal should not touch painted surfaces or labels. Keep separate brushes for delicate and dirty work.
Hiding leaks
Dressing cannot replace mechanical repair. Clean the area, locate the leak, and fix the cause before the show.
Detailing at the last minute
Water can remain trapped for hours. Finish the engine bay at least one day before the event, then perform a light final wipe on show morning.
A Practical Timeline for Show Preparation
The best results come from planning. Rushing the process increases the chance of water damage, missed dirt, or product stains.
One week before the show
Inspect the engine bay and repair leaks, loose clamps, cracked hoses, or missing clips. Test any cleaning product on a hidden surface.
Two or three days before the show
Complete the main wash, rinse, drying, and dressing process. This gives the engine bay time to dry fully and allows you to spot problems.
The day before the show
Inspect the bay under bright light. Remove leftover polish, fingerprints, dust, and water marks. Check that all covers and caps are secure.
Show morning
Use a clean microfiber towel for a light dust removal. Do not perform a full wet wash unless absolutely necessary. Check the hood latch and make sure no dressing has spread.
This timeline is especially useful for classic cars. Older wiring, gaskets, and labels need more care and more time to dry.
How Much Does Engine Bay Detailing Cost?
The cost depends on whether you do the work yourself or hire a professional. A home detail may cost about $30 to $100 for brushes, towels, cleaner, and dressing. A professional engine bay detail may cost more because it includes labor, inspection, and specialized equipment.
A full show-car detail can cost much more when it includes paint correction, metal polishing, restoration work, and mechanical repairs. Prices vary by location, vehicle condition, and the level of finish expected.
DIY detailing offers control and saves money, but it also carries risk. If the engine bay has exposed wiring, heavy oil contamination, or rare original parts, a specialist may be the safer choice. Ask what products and methods the detailer uses before approving the work.
Frequently Asked Questions About How to Detail a Car Engine for Car Show
Can I use a pressure washer to clean my car engine?
It is safer to avoid a pressure washer around engine electronics, connectors, seals, and bearings. Use a low-pressure hose, pump sprayer, brushes, and microfiber towels instead.
Should the engine be running during cleaning?
No, the engine should be off and completely cool during cleaning. Start it only after sensitive areas are uncovered, the intake is protected, and the bay is reasonably dry.
What parts should I cover before washing the engine?
Cover the alternator, open intake, fuse box, exposed ignition parts, aftermarket electronics, and loose electrical connectors. Use temporary plastic covers and remove them after the cleaning process.
What is the best dressing for a show car engine bay?
A water-based dressing with a natural or satin finish is usually the safest choice. It gives plastic and rubber a clean appearance without the greasy shine that attracts dust.
How long before a car show should I detail the engine?
Complete the main engine bay detail two or three days before the event. This gives trapped moisture time to evaporate and lets you correct stains or missed areas.
Can I polish every metal part in the engine bay?
No. Polish only metal surfaces that are designed to be bright or polished. Over-polishing original parts can create an inaccurate appearance and may damage thin plating.
How do I remove oil from an engine bay?
Use an engine-safe degreaser on a cool surface, agitate it with a soft brush, and rinse with low pressure. Find and repair the source of the oil before applying any dressing.
Conclusion
Learning how to detail a car engine for car show results is mainly about control and patience. Start with a cool engine, protect sensitive parts, remove dry dirt, clean small sections, rinse gently, dry completely, and use only a light layer of suitable dressing.
The best engine bay is not always the shiniest one. It is the one that looks clean, complete, safe, and correct for the car. Take your time, inspect the work under strong light, and finish the detail before show day. Use this process on your next project, then share your results or explore more professional car care guides.