

Professional car interior detailing means removing dirt safely, cleaning every surface, and protecting the cabin without leaving residue.
Learning how to detail a car interior like a professional is less about expensive tools and more about using the right order, products, and technique. This guide covers the full process, from removing trash and dust to cleaning seats, carpets, glass, vents, and delicate trim. You will also learn common mistakes, safety tips, and simple methods that produce a clean, fresh, factory-like finish.
What professional interior detailing really means
Interior detailing is a deep cleaning process for the inside of a vehicle. It goes beyond a quick vacuum or dashboard wipe. A professional detailer cleans hidden dirt, treats stains, removes odors, and protects surfaces from wear.
The goal is not to make the interior look wet or glossy. The goal is to make it clean, dry, comfortable, and safe. A good detail should also respect the material. Leather, cloth, plastic, vinyl, glass, and screens all need different care.
When learning how to detail a car interior like a professional, remember this simple rule: clean from the top down and from the inside out. Dirt falls as you work. This order prevents you from cleaning the same area twice.
A professional interior detail usually includes:
• Removing trash and personal items
• Cleaning floor mats and carpets
• Vacuuming seats, gaps, and hard-to-reach areas
• Dusting vents, seams, and control panels
• Cleaning plastic, vinyl, and rubber surfaces
• Treating cloth, leather, or synthetic seats
• Cleaning interior glass and mirrors
• Neutralizing odors at their source
• Applying safe protection to suitable surfaces

Tools and products you need
You do not need a full shop to detail a car interior like a professional. A small kit can handle most jobs. The key is to use clean tools and avoid harsh products that may damage the cabin.
Basic tools include:
• A vacuum with a crevice tool and soft brush
• Several clean microfiber towels
• Soft detailing brushes in different sizes
• A stiff brush for floor mats
• A soft upholstery brush
• Two buckets or spray bottles
• A plastic scraper for stuck debris
• Cotton swabs for small seams
• A step stool for larger vehicles
• Nitrile gloves
Useful products include:
• A pH-balanced interior cleaner
• A fabric or upholstery cleaner
• A leather cleaner and leather protectant
• Glass cleaner made for automotive use
• A mild all-purpose cleaner for tough plastic or rubber dirt
• Odor-neutralizing products
• A water-based interior protectant
Choose products based on the surface. Do not use household bleach, strong solvents, or abrasive powders. These can fade color, dry leather, soften plastic, or damage coatings.
Always test a new product in a hidden area first. Product labels matter. Some cleaners are safe for vinyl but not leather. Others can leave a film on touchscreens.

Prepare the vehicle before cleaning
Preparation makes how to detail a car interior like a professional much easier. Park in shade or work inside a well-ventilated garage. Direct sun can dry cleaners too quickly and create streaks.
Open all doors and remove floor mats. Take out child seats, trash, chargers, paperwork, and personal items. Check under the seats and inside door pockets. Small objects often hide in these areas.
Before using liquid, inspect the interior. Look for:
• Stains and spills
• Pet hair
• Sand or heavy grit
• Mold or mildew
• Scratches or peeling surfaces
• Loose trim
• Warning labels on seats or airbags
Do not spray near electrical controls, seat belt mechanisms, airbag panels, or open switches. Spray the product onto a towel or brush instead. This gives you better control and reduces the risk of liquid entering the electronics.
If the car has a strong musty odor, find the cause first. Wet carpets, food, smoke, and a dirty cabin air filter can all create smells. Fragrance only covers the problem for a short time.
Follow the correct cleaning order
The best process for how to detail a car interior like a professional follows a clear order. Work from top to bottom. Start with dry cleaning, then move to damp cleaning.
Use this sequence:
Remove loose items and trash.
Take out and clean the floor mats.
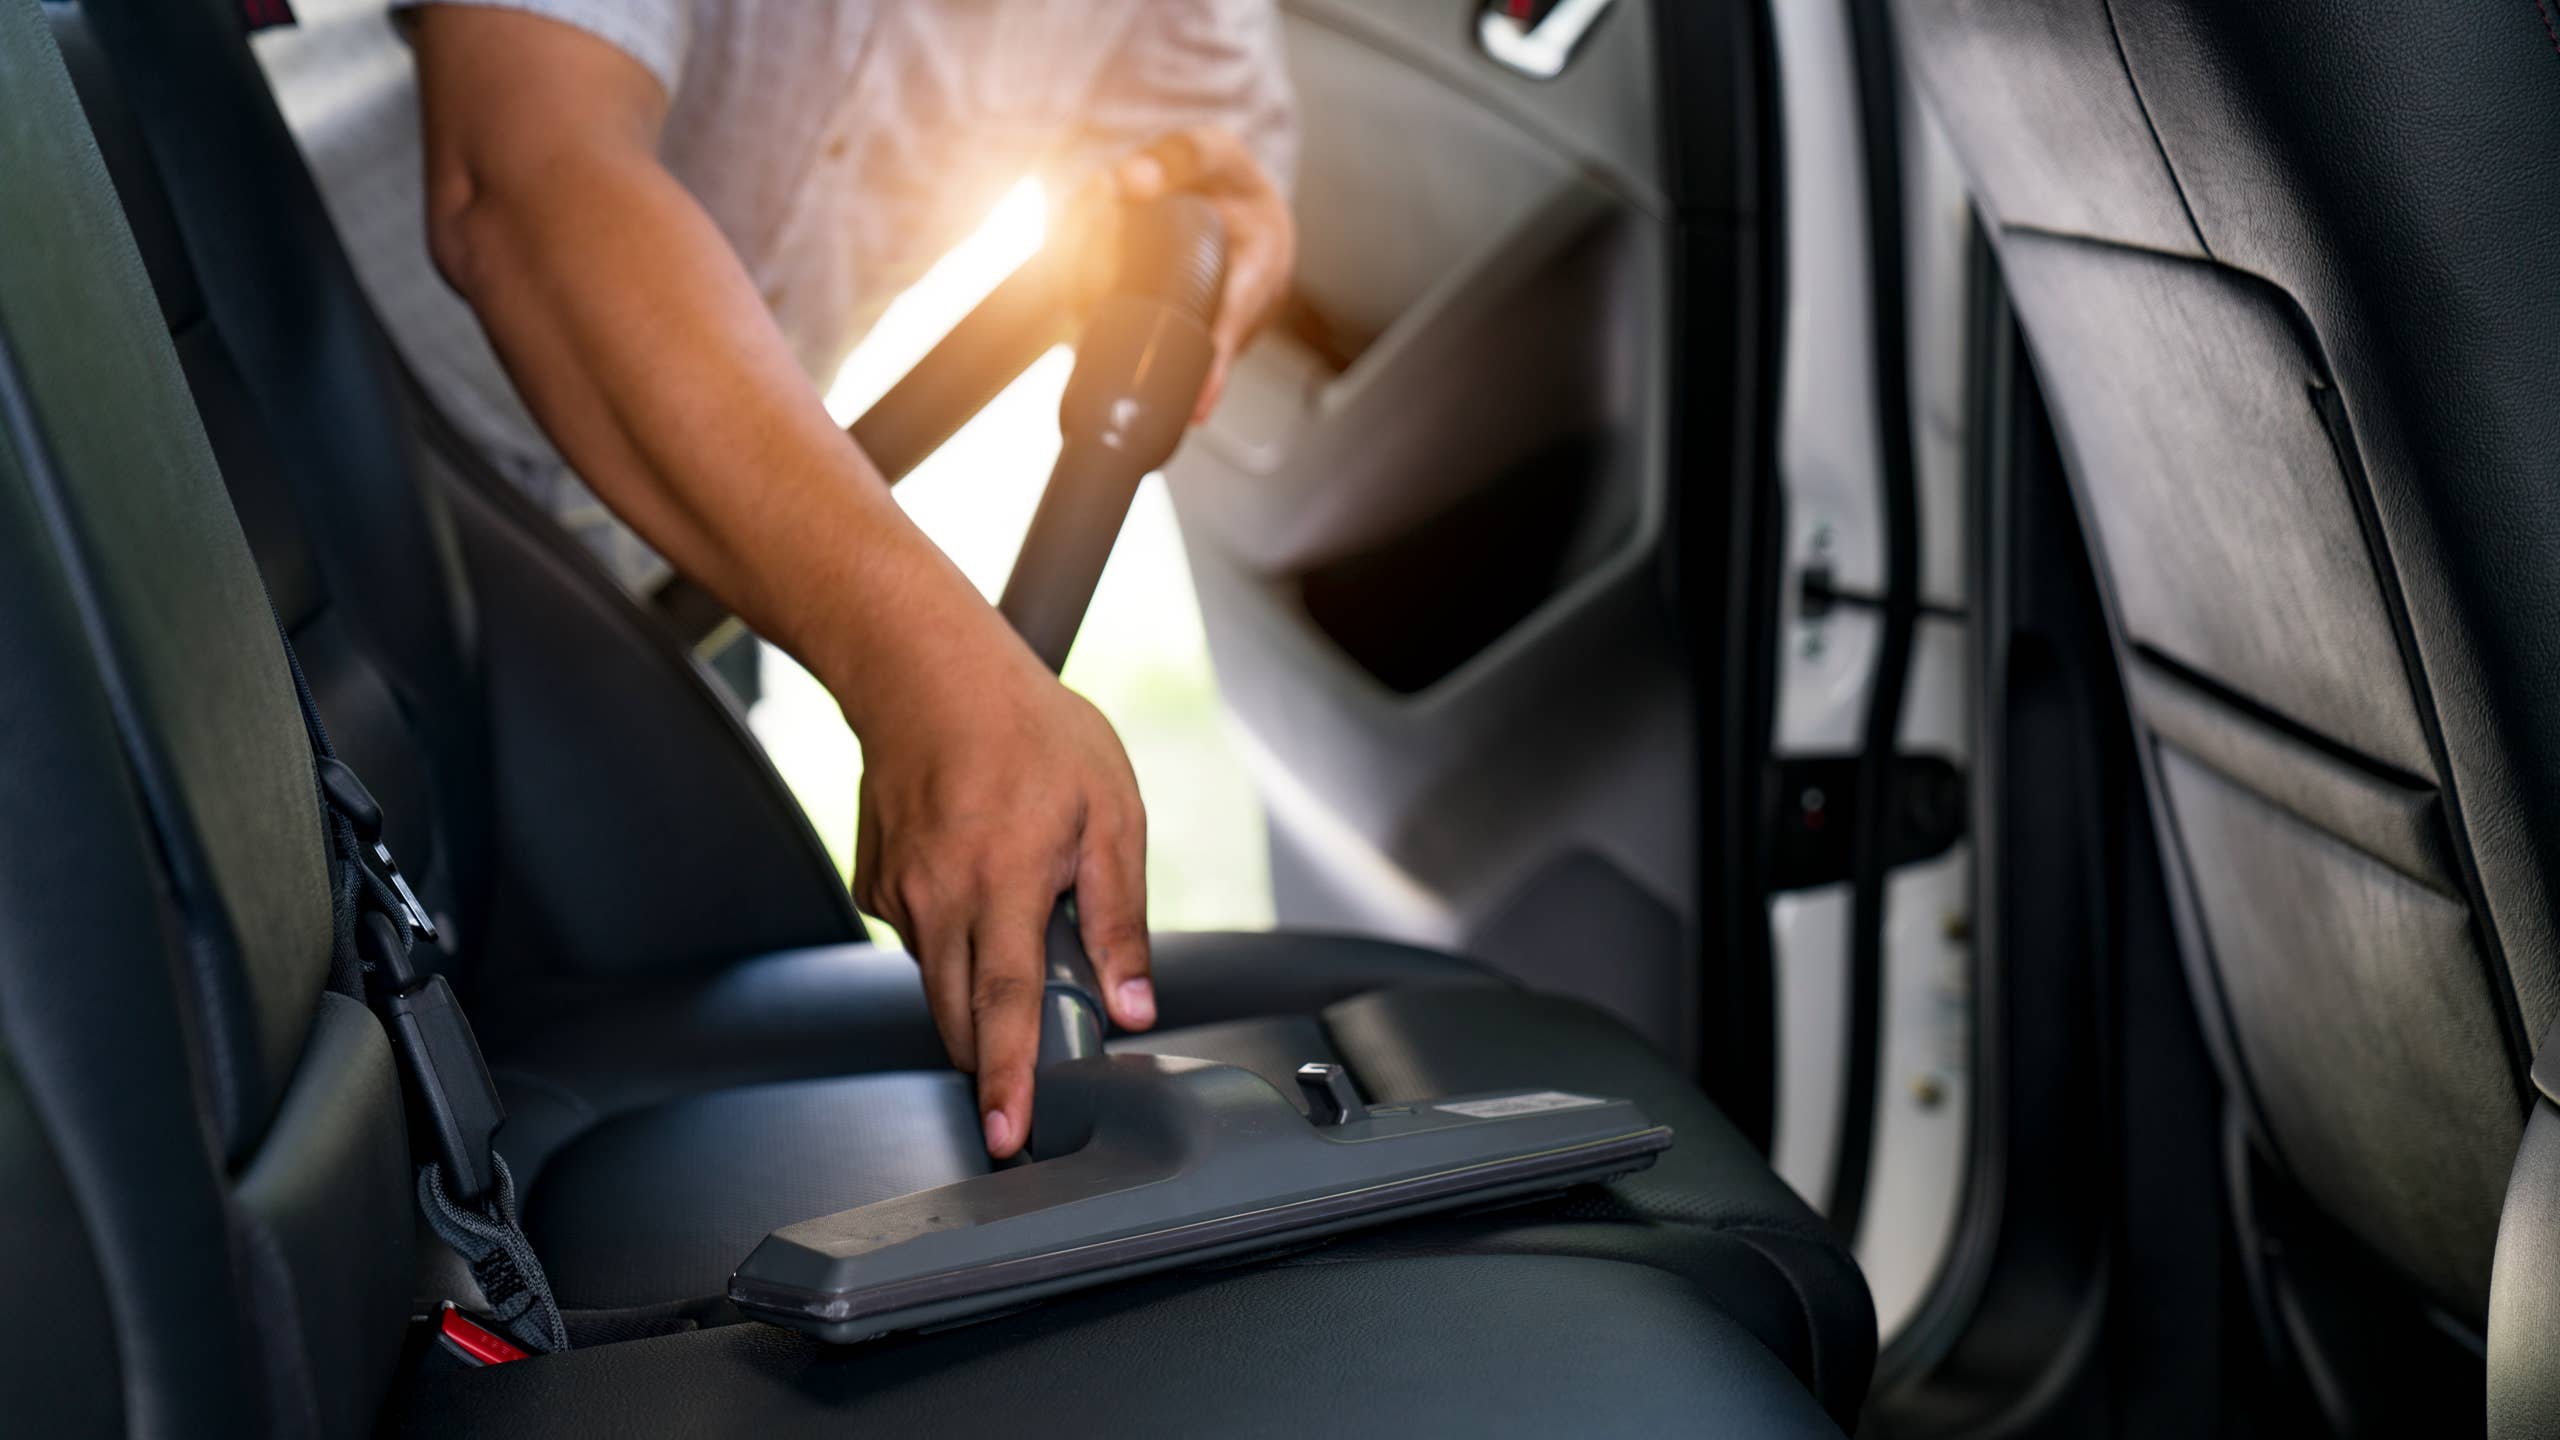
Vacuum the ceiling, dashboard, seats, carpets, and trunk area.
Brush dust from vents, seams, and controls.
Clean the dashboard, doors, console, and plastic trim.
Clean the seats and fabric areas.
Treat stains and odors.
Clean the windows and mirrors.
Apply protection where needed.
Inspect the cabin and remove any residue.
Dry cleaning comes first because loose dust becomes mud when mixed with cleaner. It is much easier to vacuum sand than to scrub wet sand from carpet.
Do not rush. A professional finish comes from several light passes, not one heavy pass. Think of the process like washing a fine shirt. Gentle, controlled work gives better results than force.
Vacuum every area, not just the floor
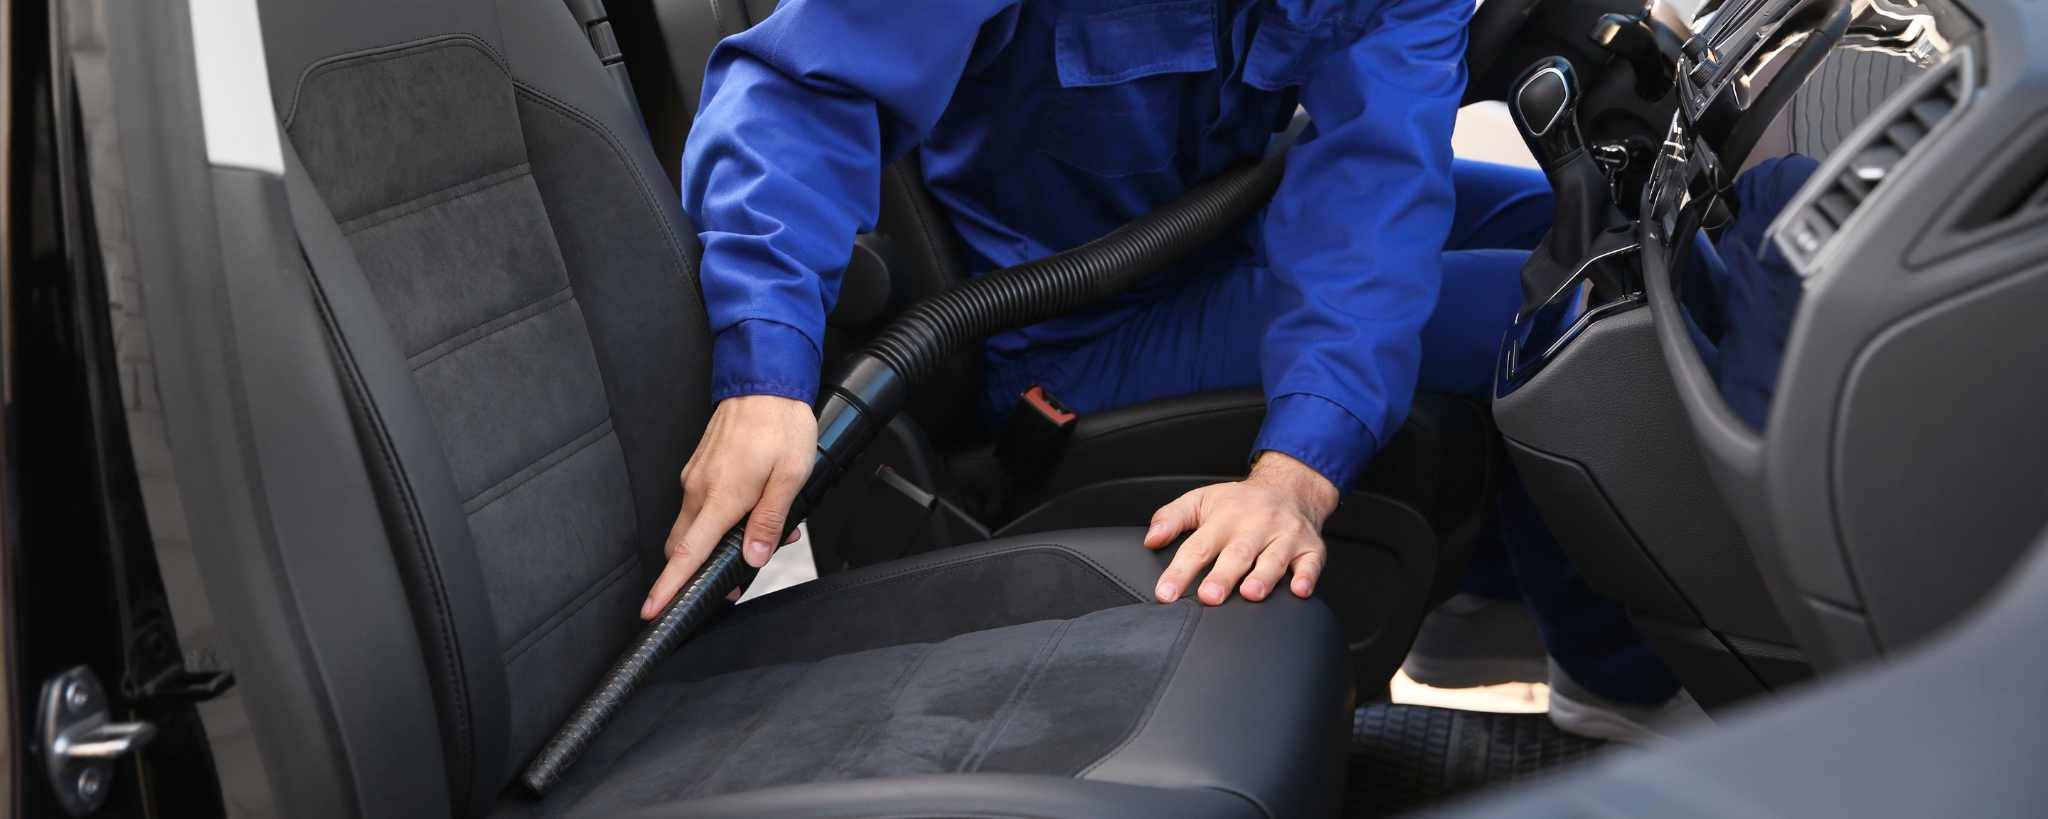
Vacuuming is the foundation of how to detail a car interior like a professional. A weak vacuum pass leaves grit behind. That grit can work into fabric and create wear over time.
Start at the top. Vacuum the headliner with a soft brush attachment and very little pressure. The headliner fabric is often glued to a thin backing. Too much force or moisture can cause it to sag.
Next, clean the seats. Move the seat forward and backward to reach the rails and carpet beneath it. Use a crevice tool around seat seams, buckles, and hinges. On leather seats, use a soft brush to remove dirt from the stitching.
Pay close attention to:
• Door pockets
• Center console gaps
• Cup holders
• Seat tracks
• Carpet edges
• Pedal areas
• Trunk corners
• Space under the rear seat
For pet hair, use a rubber brush or slightly damp rubber glove. Work in one direction, collect the hair, and vacuum it up. Avoid scraping hard against fabric because aggressive brushing can pull fibers loose.
Shake out floor mats outdoors. Vacuum both sides. For carpet mats, use a brush to loosen packed dirt before vacuuming again.
Clean the dashboard, doors, and trim
Plastic and vinyl surfaces collect skin oil, dust, sunscreen, and food residue. To detail a car interior like a professional, use a microfiber towel and a mild interior cleaner.
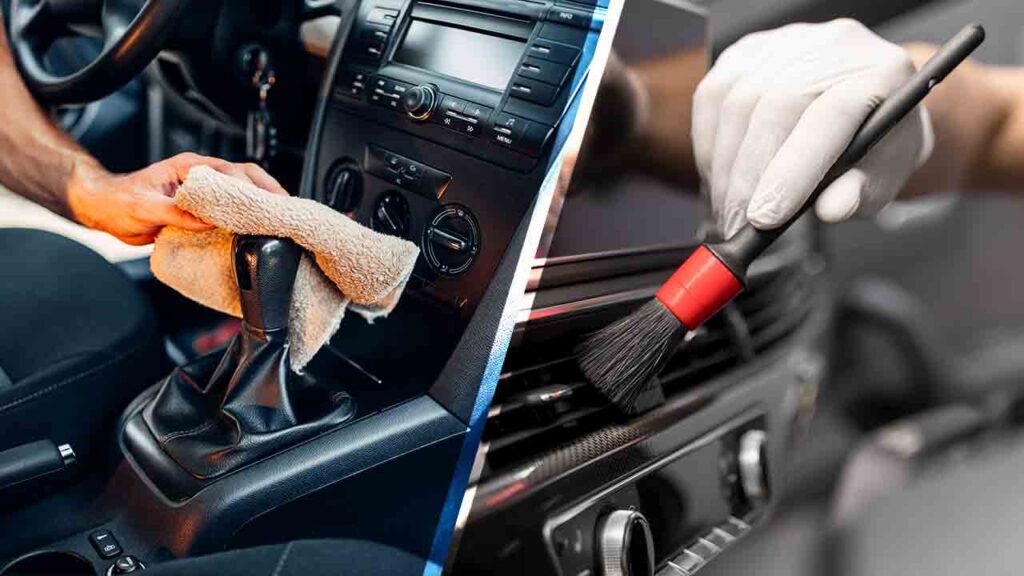
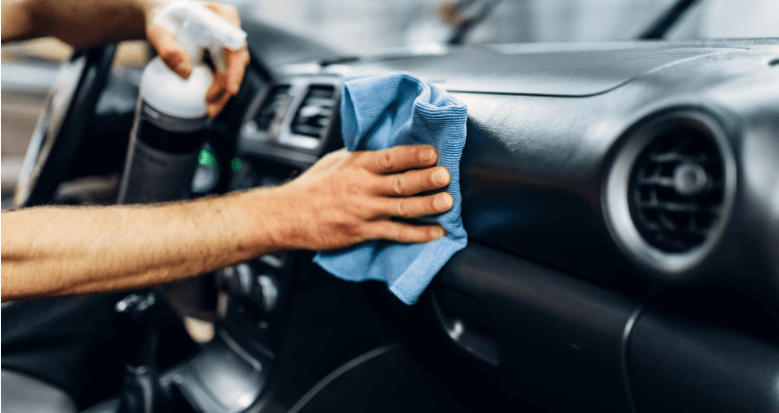
Spray the cleaner onto the towel, not directly onto the dashboard. Wipe a small section at a time. Use a soft brush around buttons, vents, stitching, and textured plastic. Then wipe the area with a second dry towel.
Use extra care on:
• Touchscreens
• Digital instrument panels
• Piano-black trim
• Soft-touch coatings
• Painted plastic
• Carbon-look surfaces
• Steering wheels
Touchscreens often have an oleophobic coating. A damp, clean microfiber towel may be enough. If you need a product, use one labeled safe for screens. Never use glass cleaner with ammonia unless the vehicle maker specifically allows it.
The steering wheel deserves special attention. It collects oil from hands and can become slippery when coated with dressing. Clean it until the surface feels natural, not greasy.
Avoid shiny silicone dressings on the steering wheel, pedals, and floor. They can reduce grip and create a safety concern.

Clean cloth seats and carpet
Fabric seats need controlled moisture. Too much water can soak the foam and create a musty odor. It can also leave water rings or slow-drying areas.
First vacuum the fabric. Then inspect the stain. Blot liquid spills with a clean towel. Do not rub hard, as rubbing can spread the stain deeper into the fibers.
For general cleaning:
Apply a small amount of fabric cleaner to a brush or towel.
Work in a small area.
Agitate gently.
Blot with a clean microfiber towel.
Allow the surface to dry fully.
Vacuum the area again if needed.
For a deep carpet clean, an extractor can help. However, extraction is not always needed. It also requires proper drying. Leave the doors open when safe, use fans, and avoid returning the vehicle to service while the seats or carpet are damp.
Some stains need specialized treatment. Oil, ink, coffee, and pet stains do not respond to the same cleaner. If a stain is old or the fabric is delicate, a professional upholstery service may be safer than repeated scrubbing.

Clean and protect leather seats
Leather cleaning is an important part of how to detail a car interior like a professional. Modern vehicle seats may use coated leather, synthetic leather, or a blend of materials. They can look alike but react differently to products.
Begin by vacuuming seams and creases. Apply leather cleaner to a soft brush or towel. Work gently, then wipe away the loosened dirt with a clean microfiber towel.
Do not soak leather. Do not use saddle soap, household oils, or kitchen cleaners unless the vehicle maker approves them. These products may leave a film, alter the finish, or make the seat slippery.
After cleaning, use a suitable leather protectant if needed. A good protectant should leave a natural finish. It should not make the seat oily or overly shiny.
Watch for cracked, peeling, or damaged leather. Cleaning cannot repair worn coating. In such cases, a leather repair specialist may be needed.

Remove stains and bad odors
A clean smell is not the same as a strong fragrance. Effective interior detailing removes the source of an odor instead of hiding it.
Common odor sources include:
• Spilled drinks
• Food under the seats
• Wet carpets
• Pet accidents
• Cigarette smoke
• Mold or mildew
• Dirty floor mats
• A clogged cabin air filter
For a fresh spill, blot first. Press a towel into the area and lift it away. Repeating this step removes more liquid than rubbing.
For pet stains or deep odors, an enzyme-based cleaner may help. Follow the product directions and test for colorfastness. Enzymes work best when they remain in contact with the source for the required time.
Do not use ozone generators in an occupied vehicle. Ozone can irritate the lungs and may damage rubber, certain plastics, and other materials. If ozone treatment is used, it should be handled by a trained professional with proper ventilation and safety controls.
If the odor returns, inspect beneath the carpet, seat, or trim. A hidden source will defeat surface cleaning.
Clean the windows without streaks
Interior glass often has a thin film from plastic outgassing, smoke, skin oil, or dashboard products. This film causes glare, especially at night.
Use an automotive glass cleaner and two clean microfiber towels. One towel should be damp for cleaning. The second should be dry for buffing.
Clean the inside of the windshield in straight, overlapping passes. Then inspect it from several angles. If streaks remain, use a fresh side of the towel. Dirty towels simply move the film around.
A useful trick is to wipe the inside glass in one direction and the outside in another. For example, wipe the inside vertically and the outside horizontally. If you see a streak, you will know which side needs more work.
Avoid spraying heavily near the dashboard or defroster vents. Spray the towel instead. This protects electronics and prevents cleaner from running into trim gaps.
Protect the interior after cleaning
Protection helps reduce fading, drying, and future staining. It does not replace regular cleaning. Apply protection only after the surface is clean and dry.
For dashboards and trim, choose a water-based product with a low-gloss finish. Factory interiors usually have a soft, natural appearance. A greasy shine can attract dust and create windshield glare.
For leather, use a protectant made for coated automotive leather. For fabric, use a fabric protectant only when the material is fully dry. Follow the label and allow proper curing time.
Do not apply protectant to:
• Steering wheels
• Pedals
• Shifter grips
• Seat belt webbing
• Brake or clutch surfaces
• Glass
• Touchscreens unless the product is approved
Sun protection also matters. A windshield sunshade can reduce heat and ultraviolet exposure. Parking in shade and keeping the windows clean can help the cabin stay comfortable.
Mistakes that ruin an interior detail
Many poor results come from small errors. Avoiding these mistakes is central to how to detail a car interior like a professional.
Common problems include:
• Using one towel for every surface
• Spraying cleaner directly onto electronics
• Soaking seats and carpets
• Scrubbing stains too hard
• Using greasy dressing on the dashboard
• Ignoring the steering wheel
• Cleaning glass with a dirty towel
• Skipping the hidden areas
• Mixing cleaning chemicals
• Closing the car while surfaces are still wet
Never mix products unless the label clearly says it is safe. Bleach and ammonia, for example, can create dangerous fumes. Keep products away from children and pets.
Another common mistake is using too much product. More cleaner does not mean more cleaning power. Extra product often leaves residue, attracts dust, and creates a sticky finish.
In hands-on detailing, one lesson becomes clear: a clean towel is often more important than a stronger chemical. Fold microfiber towels into sections and switch to a fresh side as soon as one becomes dirty.
How long interior detailing should take
The time needed to detail a car interior like a professional depends on the vehicle size and condition. A lightly used sedan may take two to three hours. A heavily soiled SUV, work truck, or pet-filled vehicle may take six hours or more.
Time also depends on the service level:
• Basic clean: Trash removal, vacuuming, light surface cleaning, and glass
• Deep clean: Stain treatment, detailed brushing, upholstery cleaning, and odor work
• Restoration detail: Extensive extraction, leather repair, mold treatment, or smoke removal
Set realistic expectations. A neglected interior cannot always look new after one visit. Some stains permanently change fabric color. Some plastics fade or peel. Some odors remain in padding or insulation.
Professional detailing is about improving the condition safely. It is not about hiding damage with shine or fragrance.
A simple maintenance routine
Once you detail a car interior like a professional, regular care keeps the result fresh. Small maintenance jobs prevent dirt from becoming a deep cleaning project.
Use this routine:
• Remove trash every time you refuel.
• Vacuum the cabin every two to four weeks.
• Wipe high-touch areas weekly.
• Clean spills as soon as possible.
• Wash floor mats when they become visibly dirty.
• Clean the inside glass when glare appears.
• Check under seats once a month.
• Use a sunshade during hot weather.
A quick ten-minute clean can protect hours of detailing work. It also makes the car feel calmer and more pleasant. A tidy cabin is like a tidy room; you notice the comfort before you notice the effort.
Safety and material care tips
Safety should come before appearance. Modern vehicles contain airbags, sensors, screens, seat heaters, and many electronic controls. Liquid and aggressive tools can damage these parts.
Keep these guidelines in mind:
• Do not remove airbag panels.
• Do not soak seat belt webbing.
• Do not use steam near electronics or glued headliners.
• Do not pressure-wash interior parts.
• Do not use strong solvents on unknown plastics.
• Do not operate a vehicle with wet pedals or slippery controls.
• Ventilate the cabin after using chemical products.
• Follow the vehicle owner's manual for special materials.
Mold, sewage contamination, and major smoke damage may require professional remediation. These conditions can affect health and may be difficult to remove with consumer products.
If you have asthma, chemical sensitivity, or another health concern, use low-odor products and improve ventilation. Gloves and eye protection are wise when using concentrated cleaners.
Frequently asked questions about how to detail a car interior like a professional
What is the best order for interior car detailing?
Start by removing trash and personal items. Then clean mats, vacuum from the top down, clean hard surfaces, treat seats and carpets, clean the glass, and apply protection after everything dries.
How often should you detail a car interior?
Most vehicles benefit from a light interior clean every two to four weeks and a deeper detail every three to six months. Heavy use, pets, children, smoking, and frequent travel may require more frequent care.
Can I use household cleaners inside my car?
Some household cleaners may damage automotive materials or leave residue. Use products designed for the surface, test them in a hidden spot, and avoid bleach, strong solvents, and abrasive powders.
How do I clean a car interior without making it wet?
Vacuum and brush first. Apply small amounts of cleaner to a towel or brush instead of spraying heavily, then blot the surface and allow good airflow for drying.
How do I remove cigarette smoke from a car interior?
Clean the headliner, seats, carpet, plastics, glass, and floor mats, then inspect the cabin air filter. Severe smoke odor may remain in padding and insulation, so professional odor treatment may be necessary.
Is steam cleaning safe for a car interior?
Steam can be useful on some hard surfaces and fabrics, but it is not safe for every material. Avoid steam near electronics, headliners, leather coatings, airbag panels, and areas that cannot dry quickly.
Should I use tire shine or dashboard dressing inside the car?
No. Tire shine is not designed for interior materials, and high-gloss dashboard products can create glare or a slippery surface. Use a low-gloss, water-based interior protectant when appropriate.
Conclusion
The best way to detail a car interior like a professional is to work slowly, use the correct product for each material, and follow a top-down cleaning order. Vacuum thoroughly, control moisture, protect electronics, treat stains early, and leave every surface dry and natural.
You do not need a costly setup. Clean towels, a good vacuum, soft brushes, safe cleaners, and patience can transform most interiors. Start with one section today, follow the process, and share your results or questions in the comments.