

Waxing a car by hand protects paint by spreading a thin, even layer of wax over clean, dry panels.
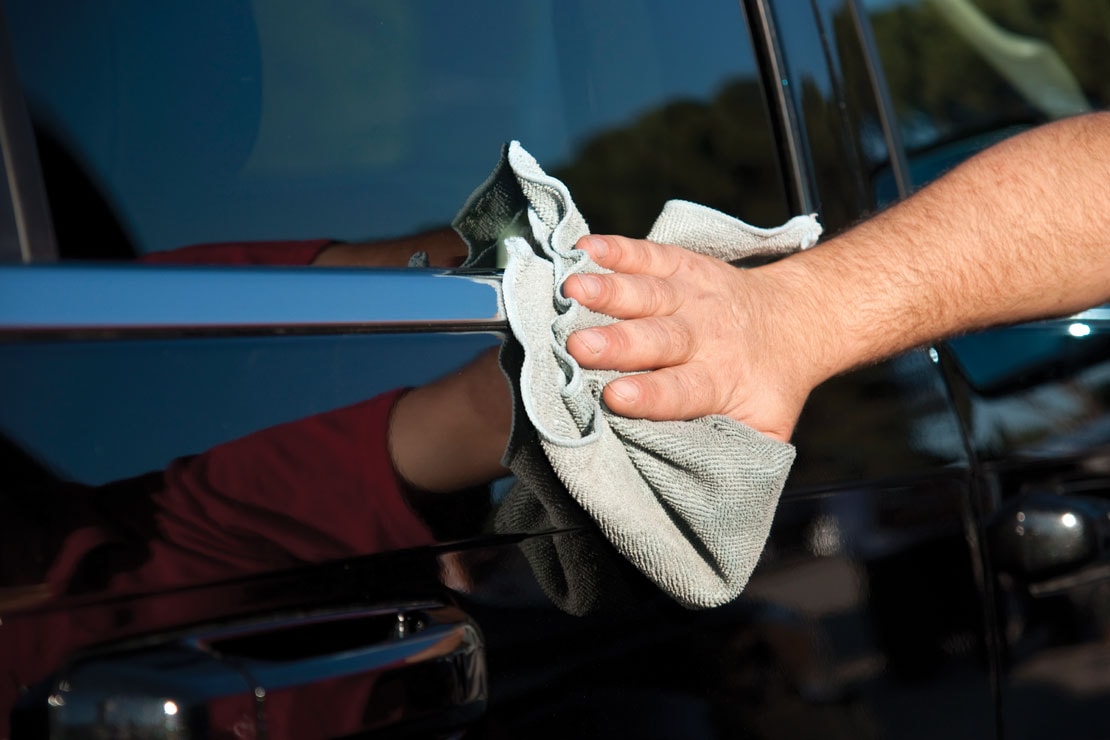
Learning how to wax a car properly by hand is easier than it seems. The real secret is not pressure or speed. It is careful preparation, the right product, clean tools, and patience. I have found that most poor results come from waxing dirty paint, working in direct sun, or applying far too much product. This guide explains the full process so you can create a smooth shine and protect your car’s finish without a machine.
What Car Wax Does
Car wax adds a thin protective layer over your vehicle’s clear coat. This layer helps water bead, improves gloss, and gives the paint some protection from sunlight, road film, dust, and light contamination.
Wax does not repair deep scratches or remove heavy oxidation. It also cannot replace proper washing and paint care. Think of wax as a raincoat for your car. It helps shield the surface, but it cannot hide serious damage underneath.
There are three common types of car wax:
• Paste wax offers strong depth and a traditional shine. It can last well but may take more time to apply.
• Liquid wax spreads easily and works well for beginners. It often dries faster than paste wax.
• Spray wax is quick and convenient. It usually provides less durability but works well as a maintenance product.
Some products called “wax” contain synthetic polymers or ceramic ingredients. These may last longer than natural carnauba wax. Always read the label because application and curing times can vary.
When learning how to wax a car properly by hand, choose one product and follow its directions. Mixing several products during the same application can make results less predictable.

What You Need Before You Start
Gathering supplies first makes the job smoother. It also prevents you from touching the paint with an unsuitable cloth or dirty applicator.
You will need:
• Car wash soap made for automotive paint
• Two buckets, if possible
• A hose or pressure washer
• Several clean microfiber towels
• A foam or microfiber wax applicator
• Your chosen car wax
• A soft detailing brush for trim and gaps
• A clay bar or clay mitt, if the paint feels rough
• Painter’s tape for sensitive trim
• A shaded, well-ventilated work area
Use clean microfiber towels with soft edges. Do not use old bath towels, rough rags, or paper towels. These materials can leave lint or create fine surface marks.
Check the weather before you begin. The ideal surface temperature is usually between 60 and 80 degrees Fahrenheit, but always follow the wax manufacturer’s directions. Avoid rain, strong wind, and direct sunlight. Hot paint can cause wax to dry too quickly and become difficult to remove.
Keep separate towels for washing, drying, wax removal, wheels, and interior work. A towel used on tires or wheels can carry grit that may scratch painted panels.
Wash and Dry the Car First
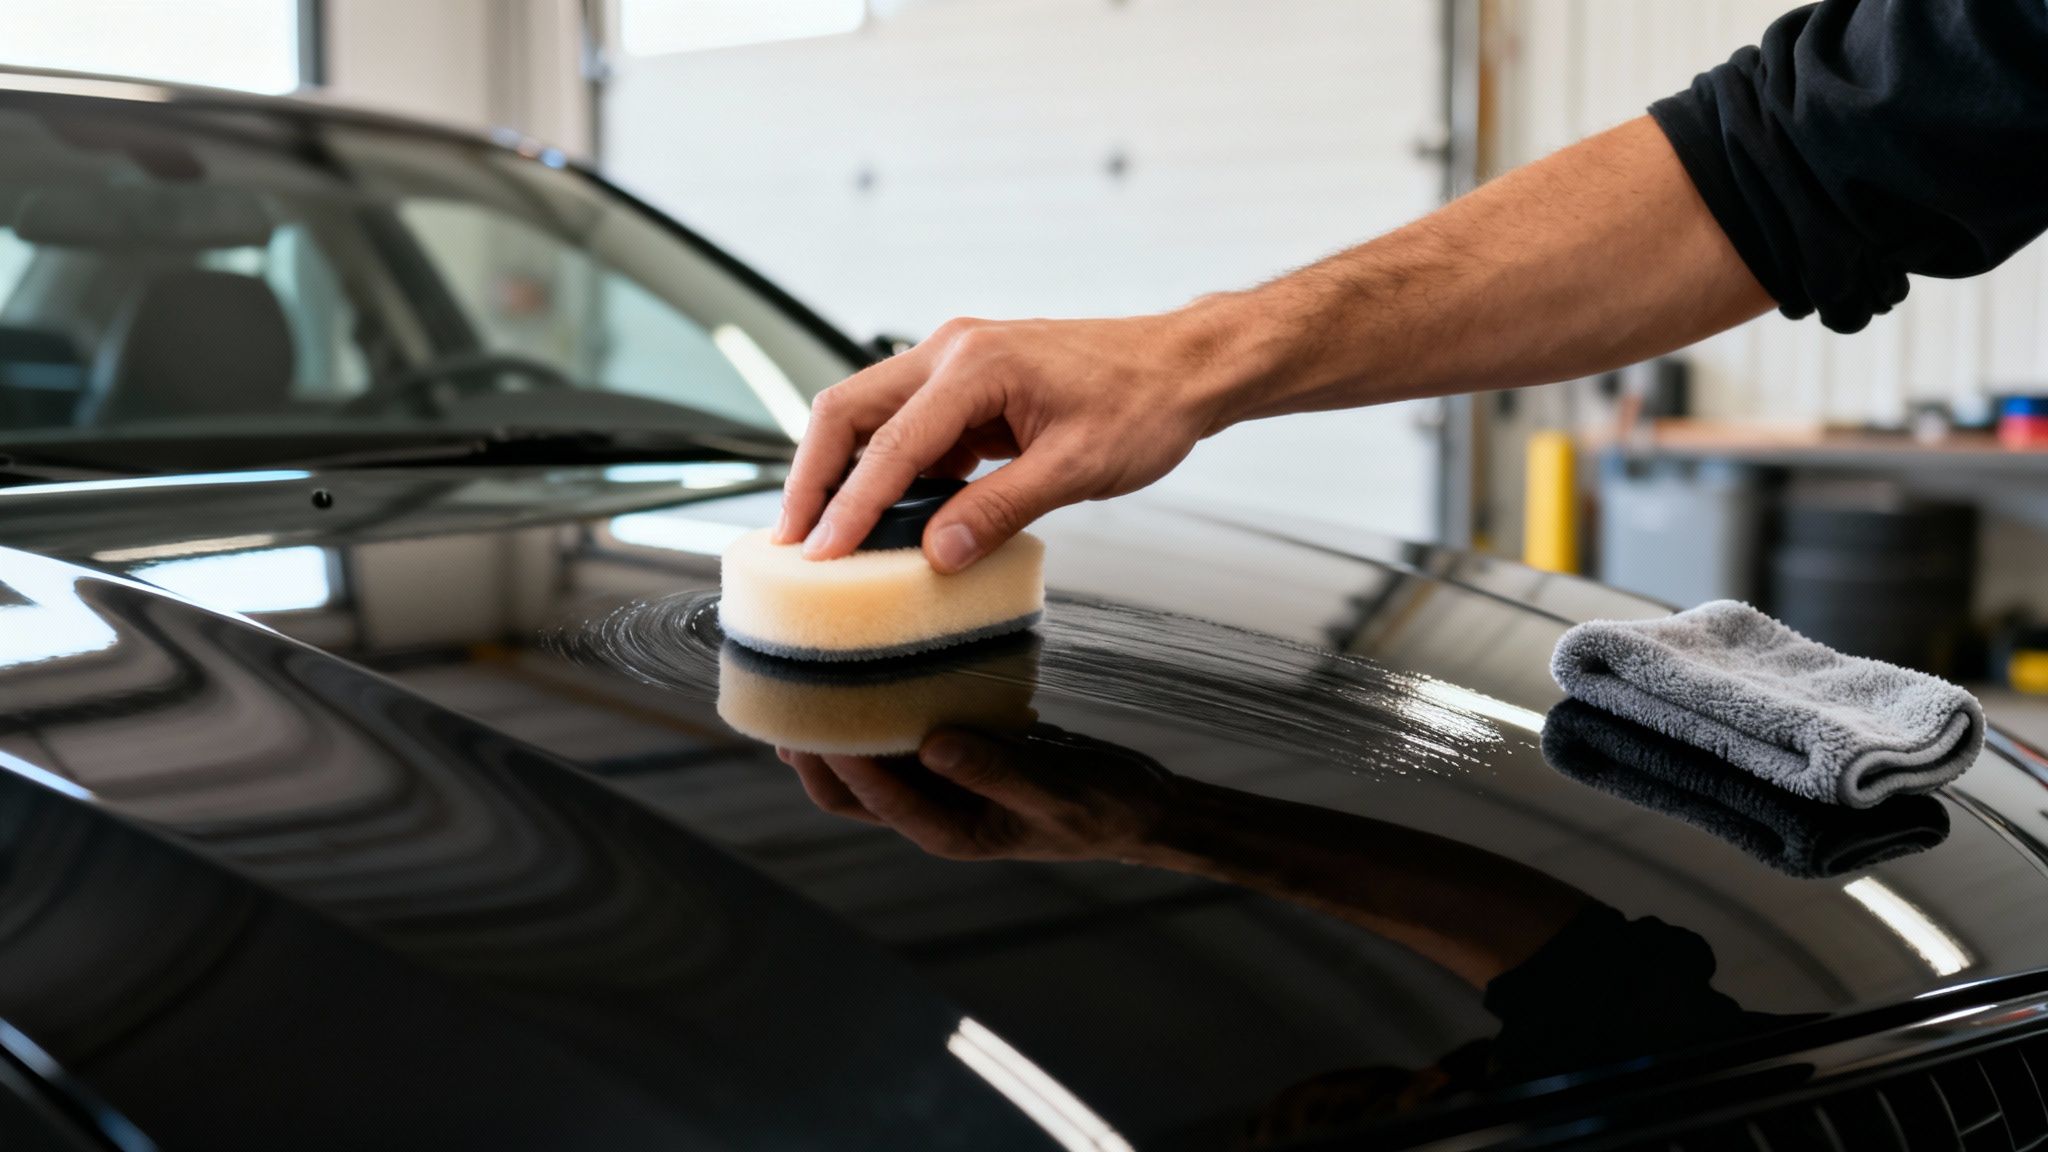
Never wax a dusty or dirty vehicle. Dirt trapped under wax can act like sandpaper and create swirl marks as you spread the product.
Start by rinsing the car from top to bottom. This removes loose grit before your wash mitt touches the paint.
Follow these steps:
Rinse the entire vehicle with clean water.
Fill one bucket with car wash soap and another with plain water.
Wash one small section at a time, starting at the roof.
Rinse the mitt often in the bucket of plain water.
Use a separate mitt or brush for the wheels and tires.
Rinse away all soap before it dries.
Dry the vehicle with a clean microfiber drying towel.
Use straight, gentle passes instead of pressing hard or scrubbing in circles. The goal is to lift dirt away from the paint, not grind it into the surface.
After drying, inspect the vehicle under good light. Look for water spots, bird droppings, tree sap, tar, and bug residue. Remove these spots with a product made for that purpose. Do not scrape them with a fingernail or razor.
A clean surface is the foundation of how to wax a car properly by hand. If the paint is not clean, even the best wax will produce disappointing results.

Decontaminate the Paint When Needed
Washing removes loose dirt, but it may not remove bonded contamination. Tiny particles from brake dust, industrial fallout, tree sap, and road tar can stick to the clear coat.
Run your clean hand over a thin plastic bag placed on the paint. If the surface feels gritty or rough, the paint may need claying. A clean, waxed surface should feel smooth.
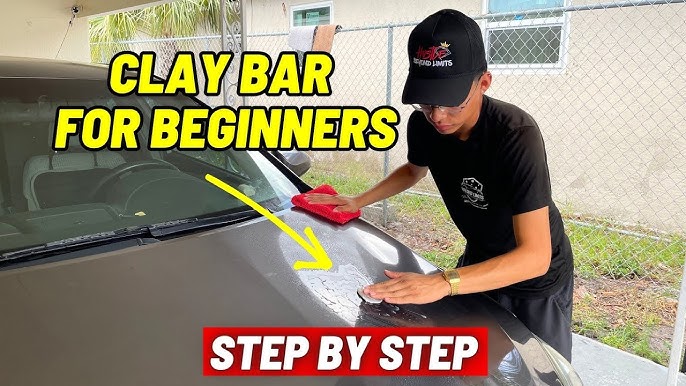
Use a clay bar or clay mitt with plenty of approved lubricant. Work in small sections and use light pressure. Keep the surface wet with lubricant so the clay glides instead of dragging.
Knead a traditional clay bar often to expose a clean section. If you drop it on the ground, throw it away. The clay can pick up grit that may scratch your paint.
You may also need an iron remover for stubborn metallic particles or a tar remover for asphalt spots. Follow the product label, wear gloves, and rinse the surface well afterward.
Do not clay every time you wax. Use this step only when the paint feels rough or shows clear contamination. Overusing decontamination products wastes time and may remove existing protection.

Decide Whether the Paint Needs Polishing
Wax protects and adds gloss, but it does not correct paint defects. If your car has light haze, dullness, or fine swirls, a mild hand polish may improve the finish before waxing.
Polishing uses very fine abrasives to level tiny paint defects. This can make the surface clearer and more reflective. However, hand polishing is limited. It may improve light marks, but it will not safely remove deep scratches that catch your fingernail.
Use a small test spot first:
• Clean a section of paint.
• Apply a mild polish with a foam applicator.
• Work the product as directed.
• Wipe it away with a clean microfiber towel.
• Check the result under strong light.
If the test spot looks better, continue with the same method. If the mark remains, do not keep rubbing harder. Excessive pressure can create uneven results and may remove more clear coat than needed.
Deep scratches, peeling clear coat, severe oxidation, and paint transfer may require machine polishing or professional repair. Knowing the limits of hand detailing is an important part of how to wax a car properly by hand.

How to Wax a Car Properly by Hand
Once the car is washed, dry, smooth, and cool, you are ready to apply wax. Read the label before opening the container. Some waxes require a thin haze, while others should be wiped off while still wet.
Use the following process:
Apply a small amount of wax to a clean applicator.
Work on one panel or half a panel at a time.
Spread the wax in thin, overlapping passes.
Use light pressure and avoid forcing the product into the paint.
Keep the layer as thin and even as possible.
Allow the product to haze only as long as the label states.
Wipe the residue away with a clean microfiber towel.
Turn the towel often to expose a fresh side.
Inspect the panel before moving to the next area.
A thin coat is better than a thick coat. Extra wax does not create extra protection. It only makes removal harder and can leave streaks or cloudy patches.
Many detailers prefer straight-line motions because they make it easier to track coverage. Small circular motions are not automatically harmful, but they can make it harder to see missed areas. Use the motion that gives you the most control.
Avoid applying wax to rubber, textured plastic, glass, and unfinished trim unless the product specifically allows it. Some waxes can leave white residue on porous trim. If you touch trim by mistake, wipe it off before it dries.
When learning how to wax a car properly by hand, complete one panel at a time. This prevents the product from sitting too long and keeps the work manageable.

How to Remove Wax Residue
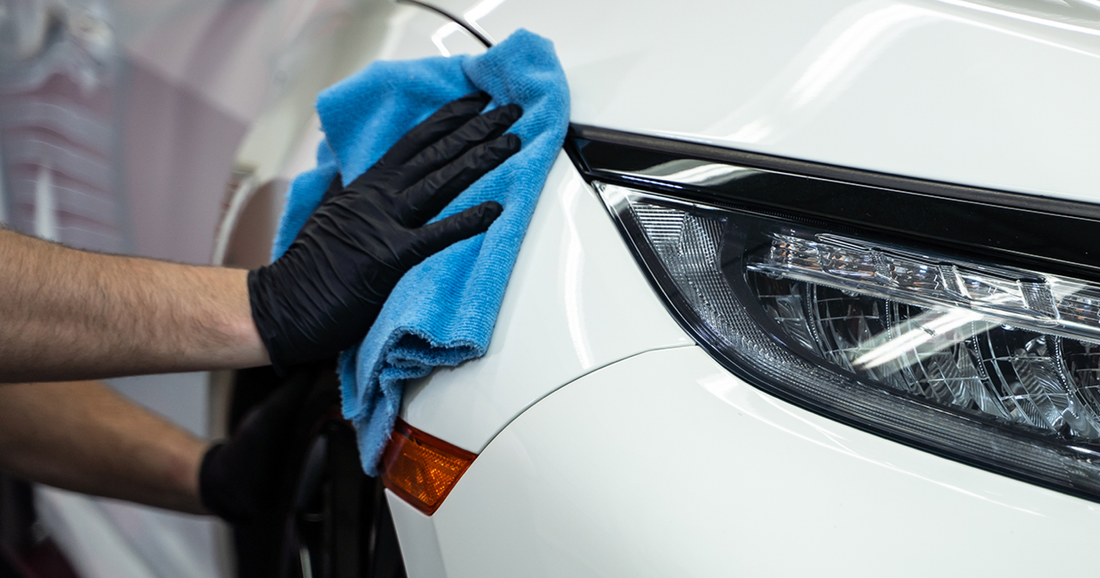
Wax removal should be gentle. Use a clean, dry microfiber towel and wipe with light, overlapping passes. Do not press hard to remove a stubborn patch.
If the residue feels sticky, fold the towel to a fresh side. You can also use a second clean towel for the final buff. The first towel removes most of the product, while the second towel improves clarity and shine.
Inspect the paint from several angles. A panel may look clear in the shade but show streaks in sunlight. Use a soft detailing light if you are working in a garage.
For tight areas around badges, door handles, and panel gaps, use a clean detailing brush or a folded microfiber towel. Do not use a sharp object to remove dried wax.
If wax has dried on plastic trim, use a trim-safe cleaner and a soft brush. Avoid aggressive solvents unless the manufacturer specifically approves them.
My most common early mistake was using one towel for the entire car. It quickly became saturated with wax and started smearing instead of buffing. Switching to several clean towels made the finish clearer and reduced the amount of rubbing.
Common Mistakes to Avoid
Small mistakes can reduce gloss, shorten protection, or create extra work. Avoid these common problems:
• Waxing a hot panel can cause uneven drying and stubborn residue.
• Applying wax in direct sunlight can create streaks and high spots.
• Using too much product wastes wax and makes removal difficult.
• Waxing over dust or grit can create fine scratches.
• Using a dirty applicator can spread contamination across the paint.
• Working on the whole car before removing wax can leave hardened residue.
• Applying wax to black plastic trim can leave pale marks.
• Using household cleaners can strip protection or damage delicate surfaces.
• Expecting wax to remove deep scratches leads to disappointment.
• Washing with harsh dish soap can reduce the life of the protective layer.
A clean process matters more than expensive equipment. Good technique and patience usually produce better results than a costly wax applied carelessly.
How Long Does Hand-Applied Car Wax Last?
Wax durability depends on the product, weather, washing habits, storage, and paint condition. A traditional natural wax may last several weeks to a few months. Synthetic waxes and sealants may last longer.
Frequent exposure to strong sun, winter salt, automatic car washes, and harsh cleaners can shorten its life. A vehicle kept in a garage and washed with gentle soap may retain protection for much longer.
Do not rely only on water beading. Beading can change because of dirt, surface oils, and weather. Check whether the paint still feels smooth and whether water sheets or beads consistently after a proper wash.
Many drivers wax every two to four months. That is a useful starting point, but the right schedule depends on your conditions. If the paint no longer feels slick after washing, it may be time to reapply protection.
A spray wax can help maintain gloss between full applications. It is not always a replacement for a durable paste or liquid wax, but it can refresh the surface quickly.
How to Maintain Waxed Paint
Proper maintenance helps your hand-applied wax last longer. Wash the vehicle when it is cool, and remove bird droppings or tree sap as soon as possible.
Use a pH-balanced car shampoo and a clean wash mitt. Rinse the mitt often so it does not hold grit against the paint. Dry with a soft microfiber towel rather than allowing hard water to evaporate on the surface.
Avoid automatic tunnel washes with stiff brushes. These brushes can carry dirt from other vehicles and create scratches. A touchless wash is less likely to cause mechanical marks, but strong detergents may reduce wax durability.
For routine care:
• Wash every one to two weeks when conditions require it.
• Remove bird droppings promptly.
• Use a quick detailer only on lightly dusty paint.
• Do not use a quick detailer on heavy dirt.
• Store the car under cover when possible.
• Keep wax, towels, and applicators sealed from dust.
Good maintenance is easier than repeated paint correction. A few careful minutes after each wash can preserve the smooth finish you worked to create.
Wax, Paint Sealant, or Ceramic Coating?
Wax is only one type of paint protection. Each option has strengths and limitations.
Car wax usually offers a warm shine and simple application. It is a good choice for enthusiasts who enjoy regular detailing and want a traditional finish.
Paint sealants use synthetic polymers. They often provide longer durability and stronger resistance to weather than natural wax. Their appearance may look very glossy and sharp.
Ceramic coatings form a more durable chemical layer when properly applied. They can improve resistance to contamination and make washing easier, but they require careful preparation. A coating is not scratch-proof, and professional application may cost more.
Choose based on your priorities:
• Choose wax for easy, satisfying home application.
• Choose a sealant for longer protection with simple maintenance.
• Choose a ceramic coating for a longer-term project and higher preparation standards.
None of these products makes a car maintenance-free. All painted surfaces still need safe washing, prompt contamination removal, and sensible care.
Safety and Product Limits
Read every label before using a wax, polish, clay lubricant, or chemical remover. Work in a space with good air movement, especially when using solvents or aerosol products.
Wear gloves when a product recommends them. Keep chemicals away from children, pets, open flames, and hot engine parts. Do not combine cleaning chemicals unless the labels clearly allow it.
Test unfamiliar products on a small hidden area first. Paint systems differ by age, repair history, color, and clear coat condition. A product that works well on one vehicle may behave differently on another.
Wax will not repair failing clear coat. If the clear coat is peeling or lifting, polishing and waxing may make the area look better for a short time but will not stop the failure. Professional refinishing is the lasting solution.
Manufacturers and automotive paint specialists generally recommend avoiding abrasive household products and using products designed for modern automotive finishes. That advice is especially important for newer cars with delicate clear coats.
Frequently Asked Questions About How to Wax a Car Properly by Hand
Should I wash my car before waxing it?
Yes. Wash and dry the car completely before applying wax. Waxing over dirt can trap grit against the paint and create fine scratches.
Can I wax a car in direct sunlight?
It is better to work in shade. Direct sunlight heats the panel and can dry the wax too quickly, causing streaks and difficult residue.
How much car wax should I use?
Use a very thin, even layer. A small amount on a foam or microfiber applicator is usually enough for one panel because extra wax does not provide extra protection.
Should I polish before waxing?
Polish first if the paint has light haze, oxidation, or fine swirls that you want to improve. Wax adds protection, but it does not remove deep scratches or major paint defects.
How often should I wax my car?
Many vehicles benefit from waxing every two to four months. Weather, washing methods, storage, and the type of wax can make this interval shorter or longer.
Can I put car wax on plastic trim?
Only use wax on trim when the label says it is safe. Traditional wax can leave white marks on porous black plastic, so protect trim with painter’s tape or use a trim-safe product.
Is hand waxing better than machine waxing?
Hand waxing gives you excellent control and requires little equipment. Machine application can spread product faster and more evenly, but careful hand application works very well for most home detailers.
How do I know when to remove the wax?
Follow the product label. Some waxes should haze before removal, while others should be wiped off while still wet; waiting too long can make removal harder.
Conclusion
Knowing how to wax a car properly by hand comes down to a clean surface, a cool work area, thin product coverage, and gentle towel work. Wash and dry the car first, remove bonded contamination when needed, correct light defects before waxing, and protect trim from residue.
Do not rush the process or use more wax than necessary. With clean tools and careful technique, you can create a smooth, glossy finish without expensive equipment. Try the method on one panel first, then complete the rest of the car with confidence. Share your results or explore more professional car care guides to keep your paint looking its best.